Amazing Gluten Free Pizza Crust
Ingredients
- 3 cups3 cups3 cups Kim's Gluten Free Bread Flour Blend (click for recipe), (420 g)
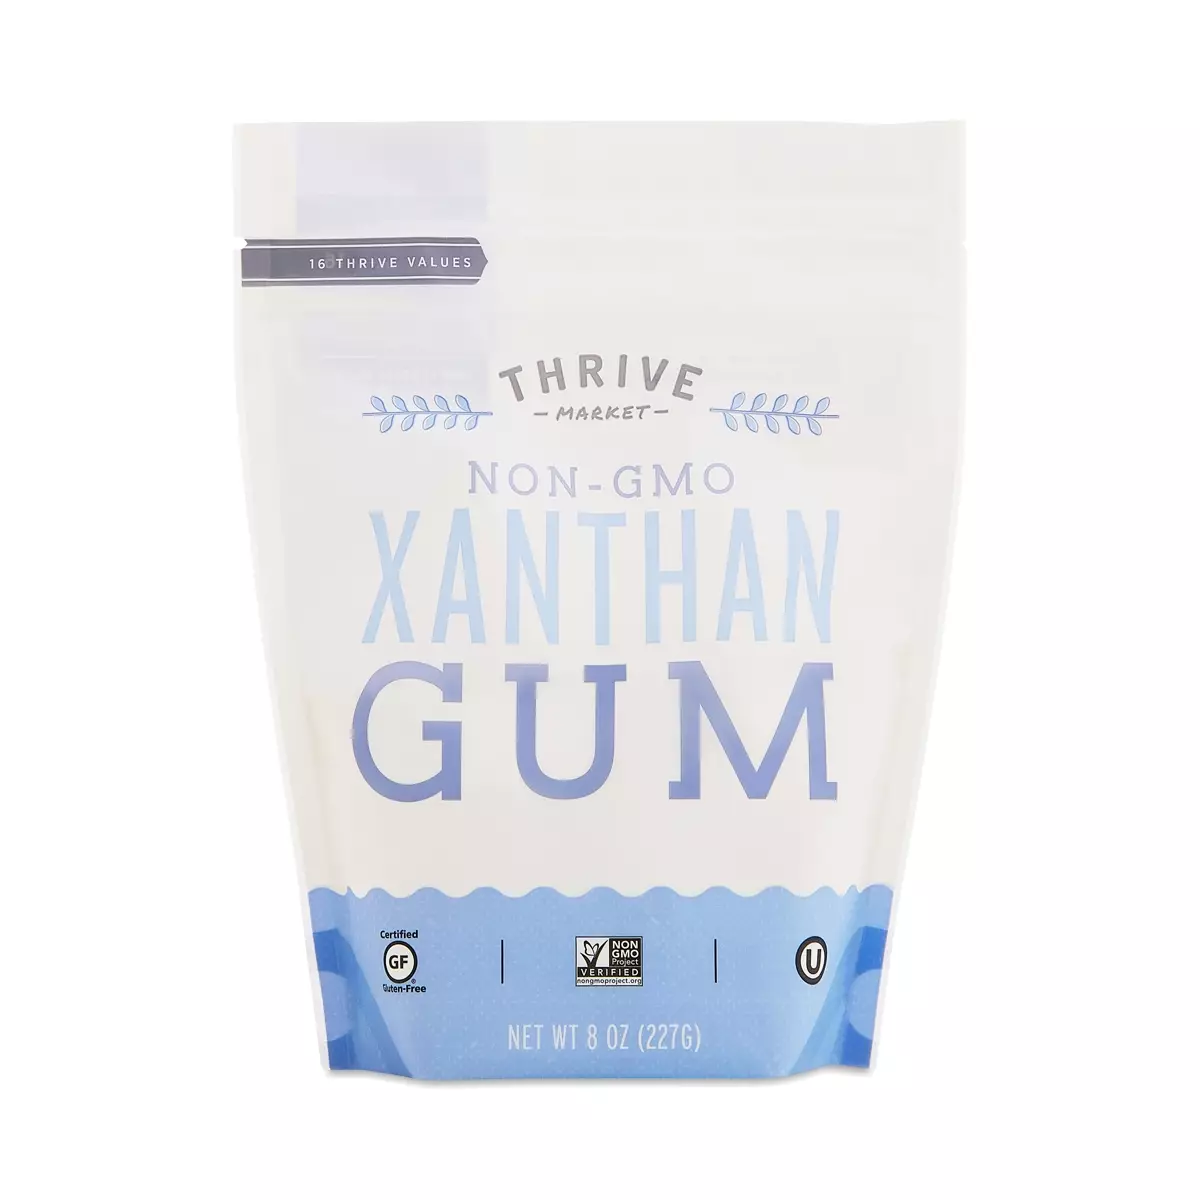
- 1.5 tsp1.5 tsp1.5 tsp Xanthan Gum, in addition to what's already in the blend

- 1 Tbsp1 Tbsp1 Tbsp whole Psyllium Husk, (or 1.5 tsp psyllium husk powder--this is optional, but if you don't use psyllium husks, you'll need to decrease the water to 1.5 cups)
- 1 Tbsp1 Tbsp1 Tbsp Quick Rise Yeast

- 1 tsp1 tsp1 tsp Kosher Salt
- 1.75 cups1.75 cups1.75 cups Water, (420 ml)
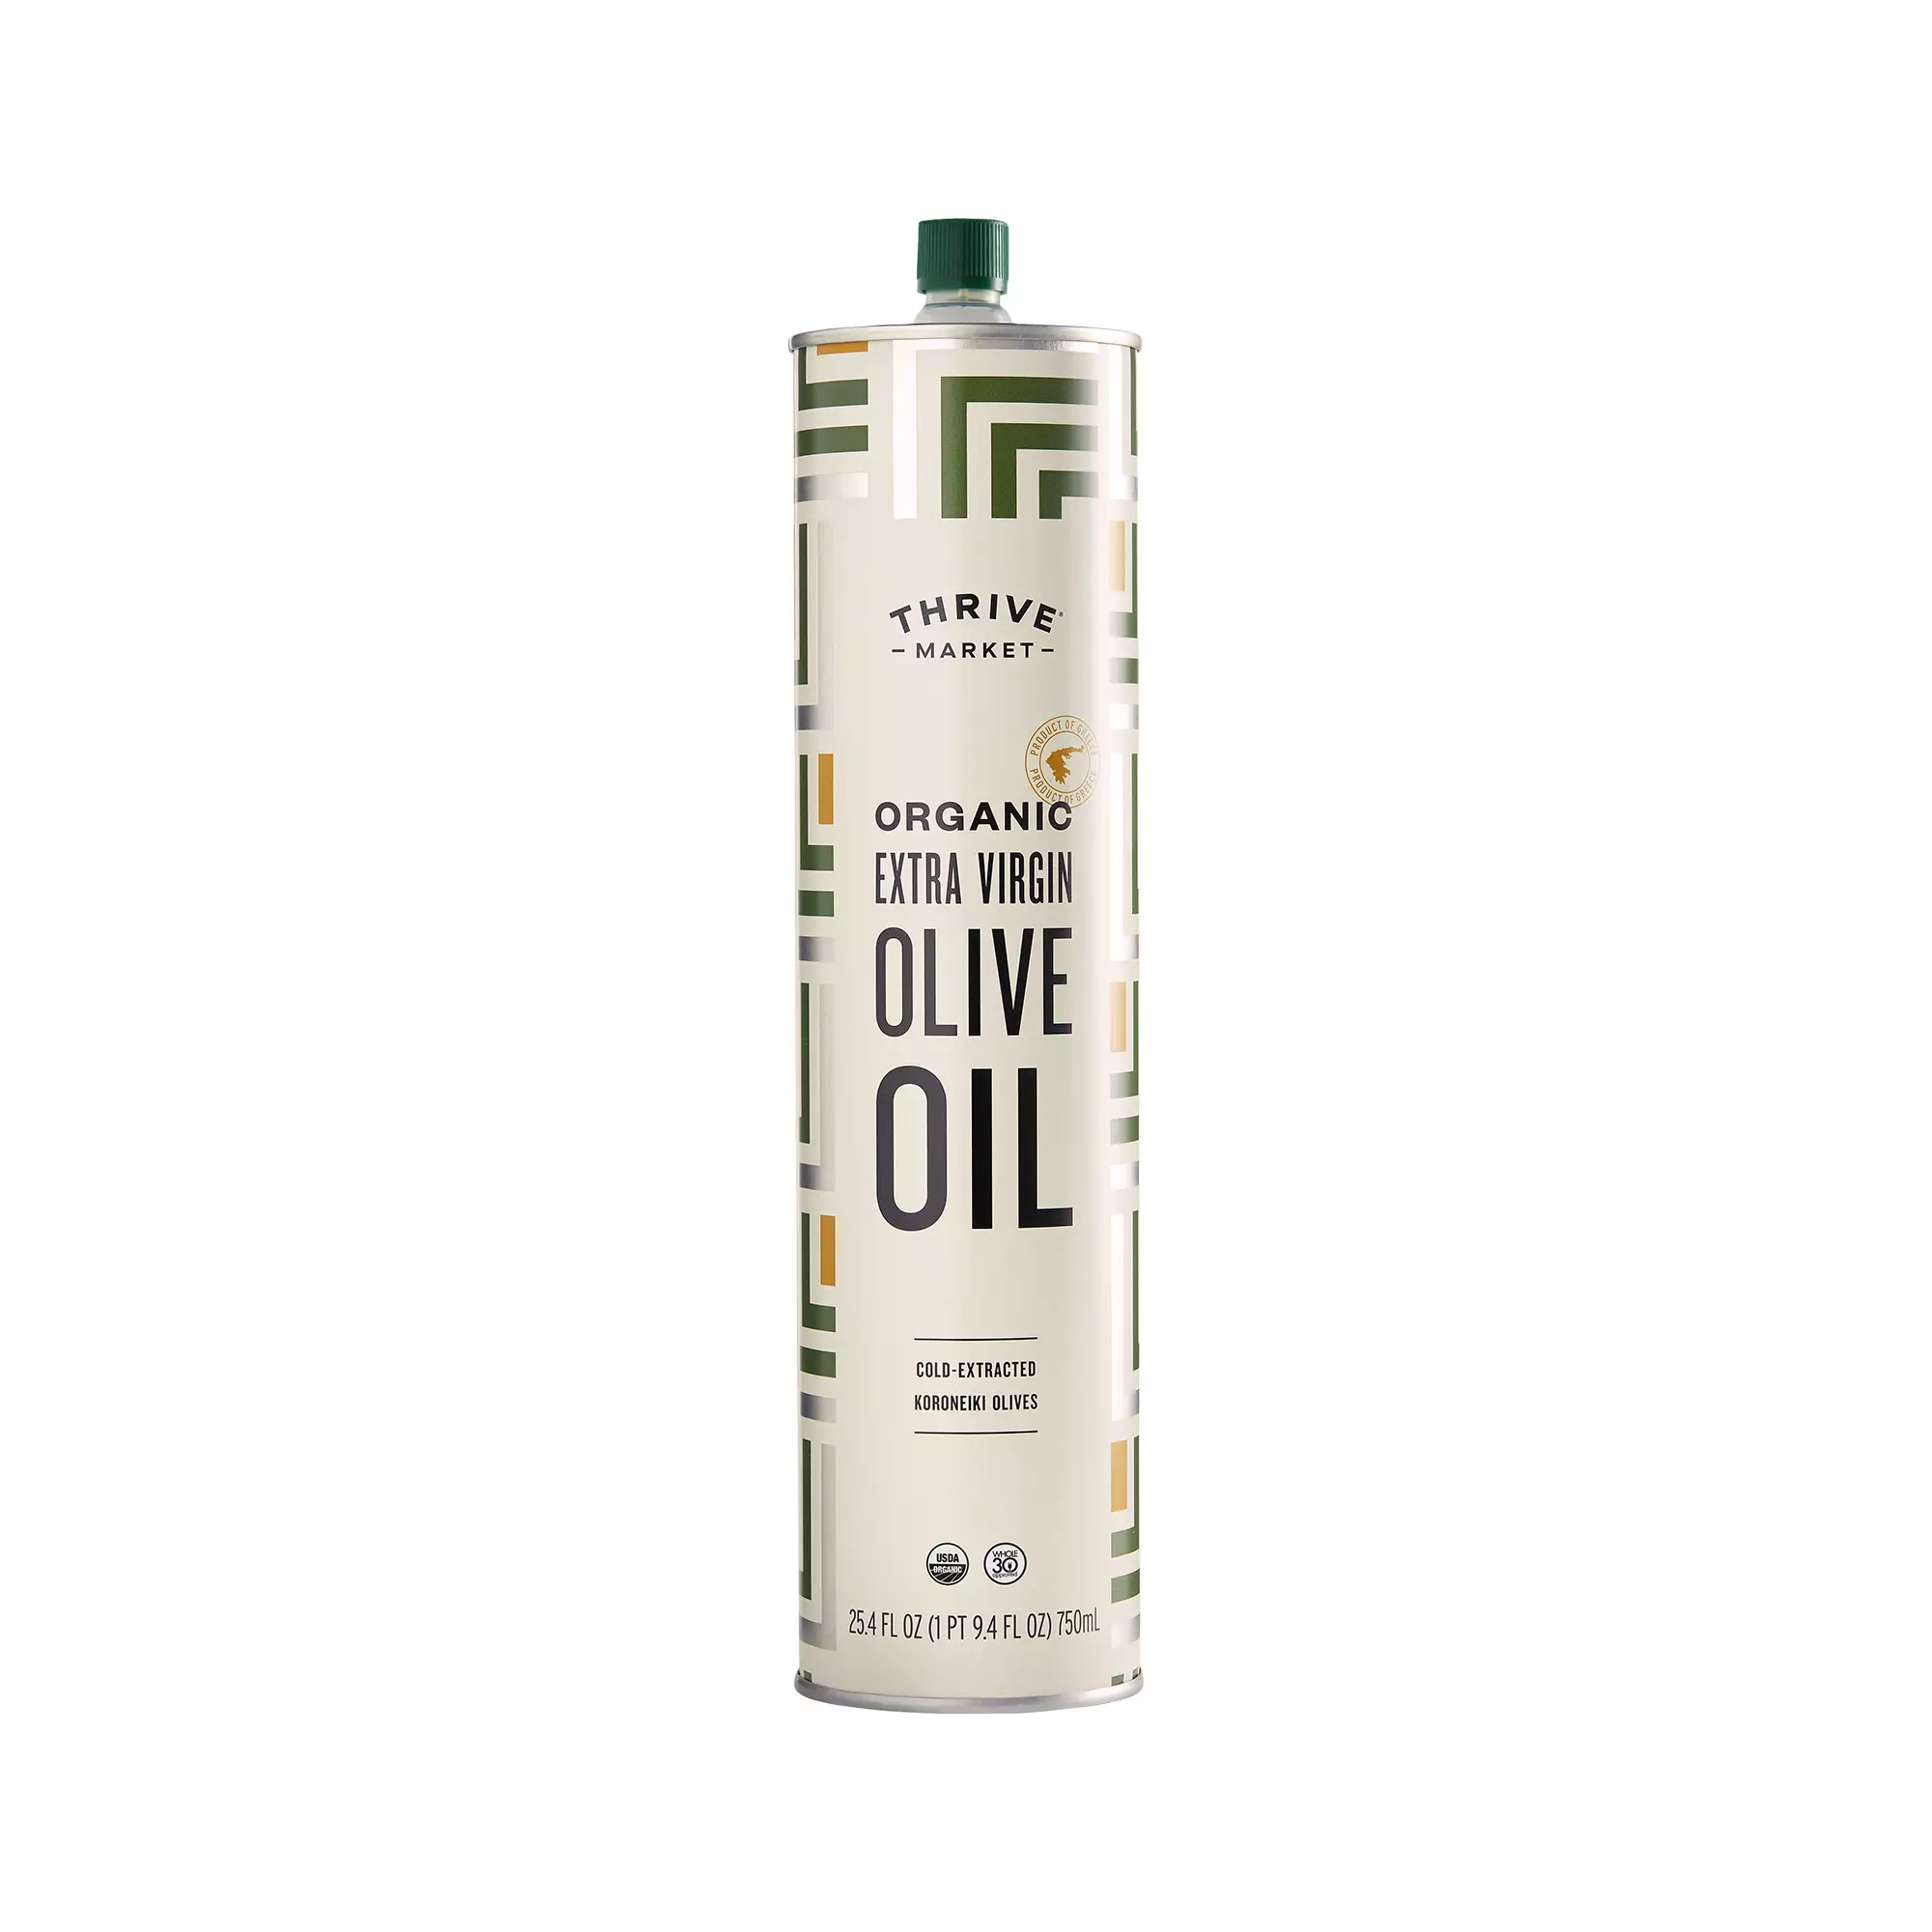
- 2 Tbsp2 Tbsp2 Tbsp Extra Virgin Olive Oil

- 1 Tbsp1 Tbsp1 Tbsp Honey

- 1 Tbsp1 Tbsp1 Tbsp Corn Flour, for sprinkling on pizza peel
Process
Mixing the Dough
- In the bowl of a stand mixer fitted with the dough hook, add all the dry ingredients and whisk to combine. Add the water, honey, and olive oil. Turn the mixer on low, using the dough hook, and mix just until combined. When fully incorporated, turn the mixer up to medium high and mix for 5 minutes. It will be sticky and stretchy and seem like a thick batter.
- Scrape the sides of the bowl to mound the dough into one large heap of dough. Cover the bowl with plastic wrap. Place in a warm, draft-free area to proof for 1-2 hours, or until doubled in size.
- Put the dough in the refrigerator overnight or up to 10 days.
Shaping the Dough
- Remove the bowl from the refrigerator and flip it over onto a heavily floured surface. Knead for a few minutes, adding more flour as necessary, until the dough is fairly smooth. It will still be a slightly sticky dough.
- Using a knife or bench scraper, cut the dough into approximately 3-4 pieces that are roughly 6 ounces each.
- Roll out each piece into about a 10-inch pizza (using extra flour as necessary and constantly moving the dough to avoid sticking). Cover the dough with a tea towel or plastic wrap and set aside to rest while you prepare your oven.
- Position your pizza steel (or stone) on the middle rack of your oven and preheat it to 500˚F for at least 30 minutes.
- Remove the plastic wrap from the top of the pizza crusts and sprinkle your pizza paddle (peel) with corn flour or cornmeal to keep it from sticking to the peel. Place dough onto peel and spread with sauce. Sprinkle with cheese and any other toppings of choice. Don't go overboard as you'll weigh the pizza down and it could possibly stick to the peel.
- Slide pizza onto steel (or stone) and bake for about 6-7 minutes, or until the crust appears set. Switch oven to broil (on high) and broil for about 1-2 minutes, checking after one minute, to melt the toppings. Remove carefully with tongs onto pizza peel. Enjoy!!
Notes
These pizza crusts can be parbaked if you want to stock your freezer with them to make pizzas later. Bake them at 500 degrees F for only a few minutes and cool. Fill a gallon freezer bag with a couple of them, and place in freezer. To bake from frozen, turn broiler on to high and broil until toppings are hot and cheese is melted. Whole pizzas can also be made ahead of time. Roll out the dough, add sauce and toppings, and place on baking sheet or any flat surface. Freeze until firm enough to wrap in plastic wrap on a cardboard round (such as a cake round). Freeze for up to two months. When ready to bake, preheat oven to 450 degrees and bake (removing cardboard) on pizza steel or stone set on middle rack until crust has puffed and cheese is melted, about 10-12 minutes. For a different flavor and texture experience, instead of mozzarella cheese try shredded white American. It sounds crazy, but it is unbelievably creamy and so yummy! ***DISCLAIMER: The reason I created my own flour blends is because I could not obtain the results I wanted with flour blends that were available in stores, online, or from other gluten free bloggers. My recipes have been developed to be used with my own bread flour blend that I created after painstakingly testing for, in some cases, YEARS to develop what I believe to be a superior gluten free bread like no other. If you do not use my gluten free bread flour blend for this recipe, I cannot speak for the results you will obtain. While store bought blends may give you a satisfactory result, they may NOT give you the results intended in my recipe.
Add a Note
My Notes:
Never Miss a Bite
Get recipes delivered to your inbox every week





Leave a Reply
You must be logged in to post a comment.