

FoodSocial How-to Library
Browse tutorials on how to load a recipe, how to create a meal plan, and other core content processes on FoodSocial.
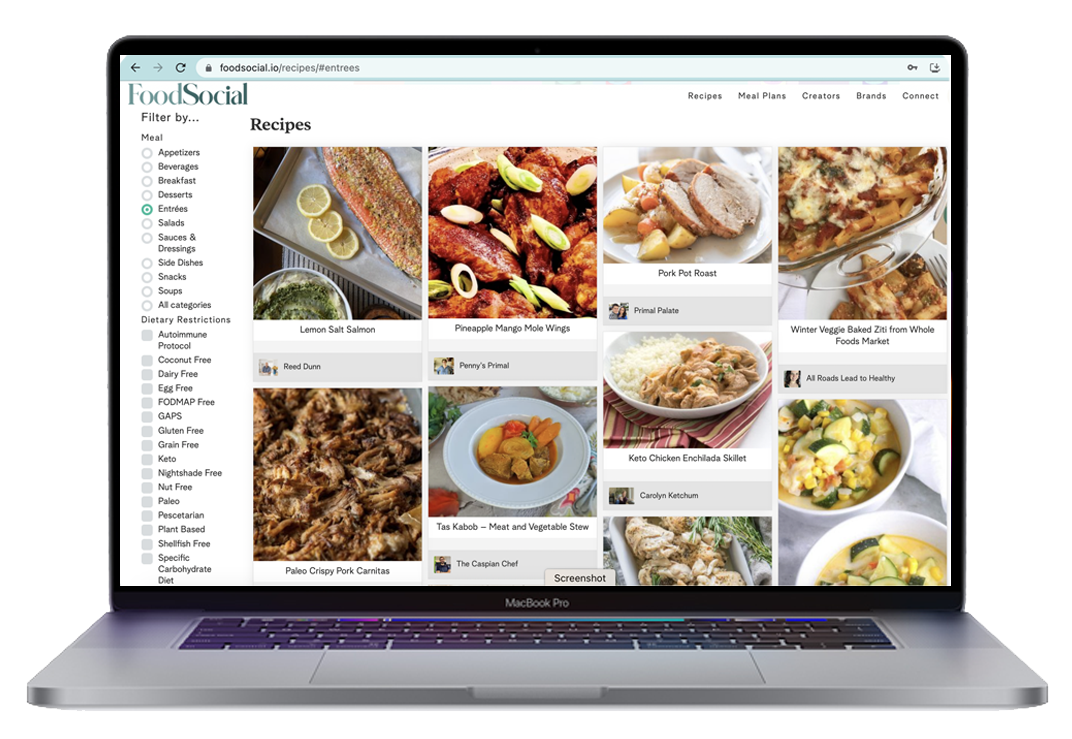
How to: Publish a Recipe
1. Upload: Click “Upload” in the top right corner to access the recipe uploader.
2. Photos: Upload images – the first becomes the main image and creates a carousel atop your recipe.
3. Title and Description: Enter a recipe title and description. Share details and add affiliate or other links if desired.
4. Category Selection: Choose recipe categories (appetizer, entrée, dessert, etc.) by holding CTRL for multiple selections.
5. Ingredients: Search our database or create a “pending ingredient” if the one you need isn’t available yet. Include amount, measurement, ingredient name and notes.
*See notes below on how to add a pending ingredient.
– Ingredient Group: Create groups or sections of your recipe (like “for the marinade” and “for the chicken”) by adding a group, naming it to the right of the “Section Divider” box, and arranging it for proper grouping.
6. Instructions: Input steps (each on a new line). The system auto-numbers them upon publishing.
– Instructions Sections: Similar to ingredient sections, you can organize your recipe instructions into sections. On a new line, just enter “Section: ” above where your new sections start. All the steps underneath will be indented, illustrating they belong to that section, until the next grouping.
7. Additional Notes: Include substitutions, different methods, or any relevant notes.
8. Prep and Cook Time: Set time in minutes, select difficulty, and specify the number of servings.
9. Linking Options: Optionally link back to the original recipe or to a video on platforms like YouTube, IG, or TikTok.
10. Agree and Save: Confirm ownership of photo and content rights. Save as draft, publish as pending (if a pending ingredient exists), or go live by selecting “publish” to make it live on your profile!
*Adding New Ingredients (Pending Ingredients)
To add a new ingredient to our database, choose “Pending Ingredient” from the dropdown list. In the notes field that appears, provide details about the new ingredient and, if possible, mention a commonly used brand for reference. This helps our team add it to the database.
Our team will then create the ingredient on the back-end and match it with nutritional information, allergen filters, and more.
For brands: Submit any of your products as pending ingredients if they’re not yet in our database. Once added, they will be available in the ingredient library for future use.
How to: Create Meal Plans
Meal Plans are a wonderful way to organize your recipes into curated collections or roundups, whether they’re your own creations or a mix of yours and others’. It’s a great method to showcase the variety and versatility of recipes available on the platform.
Added Convenience for Users:
Meal Plans automatically create shopping lists for users, making it simple for them to gather ingredients for the recipes. Currently, these lists are shoppable through Amazon and Instacart.
Organizing Your Meal Plans:
Some fun ways to organize your meal plans could be by days of the week or meals (breakfast, lunch, dinner). You could even craft holiday menus or theme-based collections like no-bake desserts, crockpot meals or gameday recipes.
Visibility on Your Profile:
When someone visits your profile, they’ll see your Meal Plans alongside your individual recipes, making it easier for them to explore your collections.
Sharing Made Simple:
You can easily share links to your Meal Plans on social media, extending the reach of your recipe collections. While paid views count on individual recipes, sharing a meal prep link focuses on a curated list, encouraging users to preview more recipes without the need to link to each recipe individually.
Getting Started:
Crafting a meal plan is a breeze. Start by adding your preferred recipes using the plus sign, then head to your meal plan section to arrange them as you like. As you add or remove recipes, you’ll see the shopping list automatically adjust. Users can customize their lists, removing items they already have on hand, all without affecting the integrity of your original meal plan.
How to: Create Posts
Posts serve as a robust tool on the platform, allowing you to share in-depth content beyond recipes. Your Posts reside prominently on your profile, easily accessible in a dedicated tab once you start creating them. Here’s how you can make the most of them.
Storytelling Opportunity:
Use Posts to share longer narratives, such as family stories, the history behind your recipes, or personal anecdotes that add depth to your personal journey.
Detailed Insights:
Delve into the specifics—talk about ingredients, modifications, or the story behind creating a particular recipe.
Affiliate Integration:
Utilize Posts to seamlessly integrate affiliate links, promoting favorite products like air fryers or crockpots while sharing recipes that feature them.
Creative Flexibility:
Get creative! Craft restaurant guides, compile lists of favorite products (e.g., gluten free snacks, baking essentials), and add affiliate links for monetization.
