Easy Authentic Tiramisu Recipe
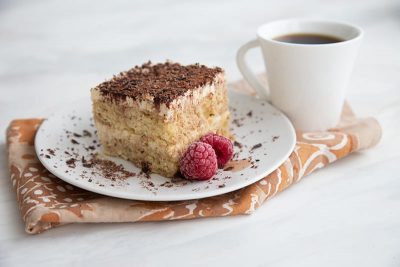
Making a tiramisu doesn’t have to be difficult while still wanting an authentic taste, you can have just that with this recipe. This is a tiramisu I’ve been making for years and it’s been an absolute hit within my family and friends. Inexpensive & super easy to make, so why not try it? Tiramisu purists, you’re going to want to try this one!
Ingredients
- 4 whole4 whole4 whole Eggs, Pastured, Separate egg yolks & whites
- 475 grams475 grams475 grams Mascarpone Cheese
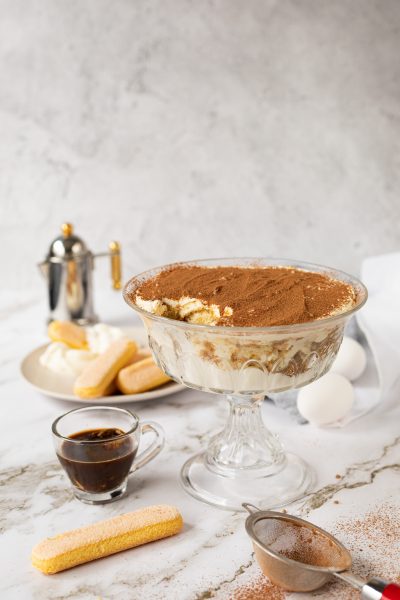
- 350 grams350 grams350 grams Ladyfingers, Milano brand (highly recommended)
- 1.5 cups1.5 cups1.5 cups Espresso

- 0.5 cup0.5 cup0.5 cup Granulated White Sugar

- 0.5 cup0.5 cup0.5 cup Dark Rum, Optional, but highly recommended
- 1 tsp1 tsp1 tsp Sea Salt, Because it’s magic!

- 2 Tbsp2 Tbsp2 Tbsp Dutch Processed Cocoa Powder

Buy Ingredients on the FoodSocial Market
Shop over 3500 products from unique and independent, creator-curated brandsProcess
Note, these instructions are written assuming the standard serving size, since you have modified the number of servings, these steps may need to be modified for best results
- Brew your espresso and put it a side to cool.
- Add in your dark rum, stir and set a side.
- Let your eggs sit out at room temperature for 20 mins.
- They shouldn’t be too cold.
- This will help your whites whip better.
- Next, separate your egg yolks and egg whites.
- Start off whisking your egg yolks gently, the. Add in your mascarpone & your salt.
- Whisk until combined for about 45 seconds to 1 min vigorously.
- Put that aside.
- Get your hand mixer and stand mixer and start whipping egg whites for about 20 second.
- After the 20 seconds, slowly pour in your sugar and whip until SOFT peaks. Soft peaks will make this extra creamy & smooth.
- After whipping your egg whites add half of them into your mascarpone/egg mixture and fold in.
- Once all combined, start building your cake.
- I use the brand Milano for my lady fingers because I find them cakey and not so mushy like the ones most people use.
- Submerge the cookie in espresso quickly then into your dish of choice. Once you’ve covered the bottom, add in your cream mixture.
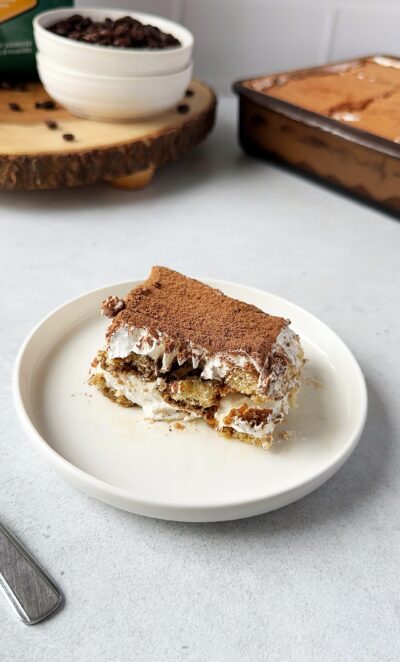
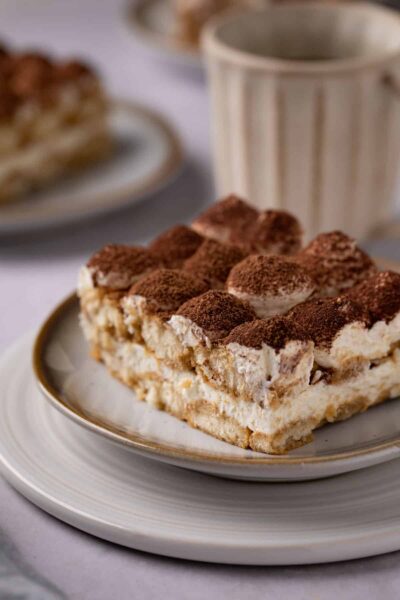
- Once you’ve repeated that step to your choice of a 2 layer or 3 layer, you can store in the fridge for 24 hours, but if you want to serve the same day, a minimum for 6 hours is recommended, but I highly recommend you store in for longer if possible.
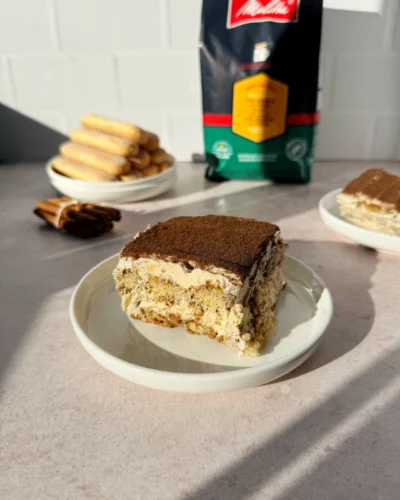
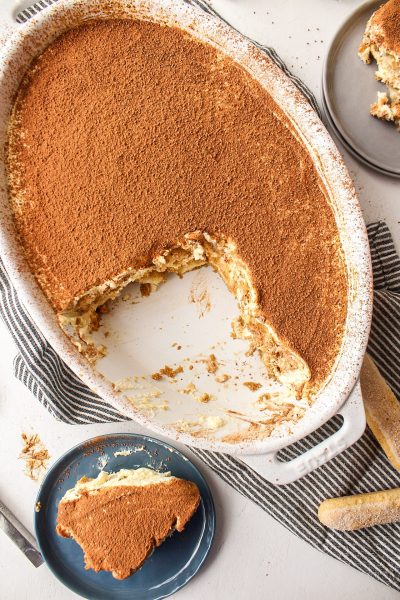
- Once you're ready to serve dust the top with cocoas powder serve and enjoy!
Add a Note
My Notes:
About This Recipe
Show nutritional information
Baked Goods Breakfast Cakes Coconut Free Nightshade Free Nut Free Other Pescetarian Shellfish Free Sugar Alcohol Free Vegetarian| This is our estimate based on online research. | |
| Calories: | 256 |
| Fat: | 20 g |
| Carbohydrates: | 11 g |
| Protein: | 2 g |
| Cholesterol: | 0 g |
| Sodium: | 244 mg |
| Fiber: | 0 g |
| Sugars: | 11 g |
| Sugar Alcohol: | 0 g |
| Calculated for total recipe. | |














Leave a Reply
You must be logged in to post a comment.