

Gluten-Free Yellow Cake (Dairy-Free)
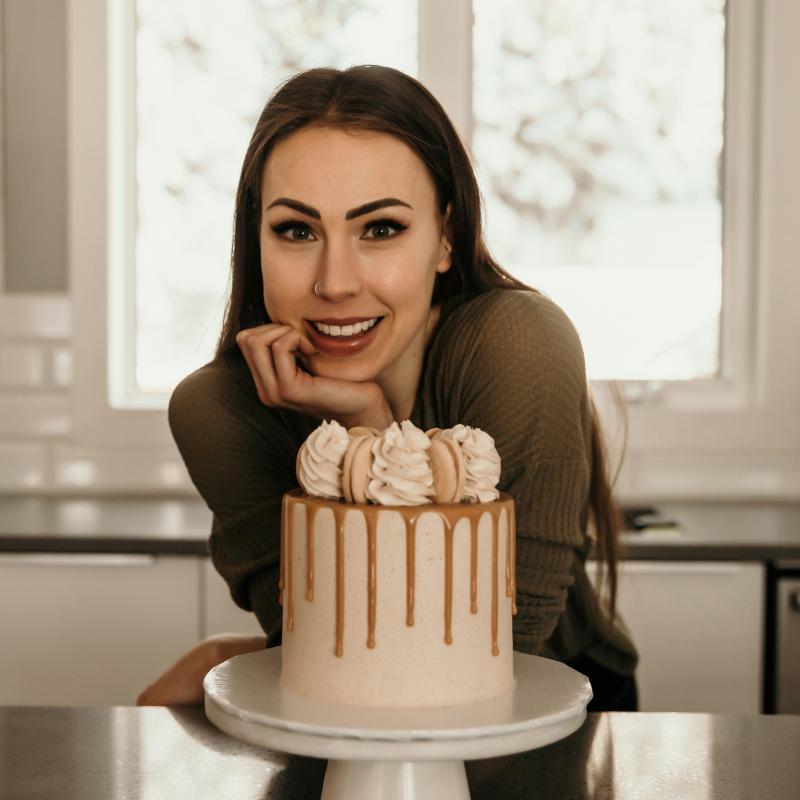
Nostalgia at its yummiest, this gluten-free yellow cake covered in whipped chocolate frosting is better than a box mix. Tender and fluffy layers full of classic buttery flavor paired with fudgy chocolate frosting, it's the perfect birthday cake! Bonus: the recipe can be made gluten-free, dairy-free, egg-free, vegan, or just plain "regular."
PREP TIME
1 hour
COOK TIME
30 minutes
INGREDIENTS
17
Serves: 16
Ingredients
- 1 cup1 cup1 cup Vegan Buttery Spread, (227g) brick-style & room temperature
- 2 cups2 cups2 cups Granulated White Sugar, (200g) can sub organice cane sugar

- 2 whole2 whole2 whole Eggs, large, separated & at room temperature
- 1 Tbsp1 Tbsp1 Tbsp Pure Vanilla Extract, (15ml)
- 2 cups2 cups2 cups Gluten-Free Flour, (240g) can sub cake flour
- 2 Tbsp2 Tbsp2 Tbsp Cornstarch, (16g)
- 1 Tbsp1 Tbsp1 Tbsp Baking Powder
- 1 tsp1 tsp1 tsp Salt
- 0.125 tsp0.125 tsp0.125 tsp Cream of Tartar
- 1 cup1 cup1 cup Almond Milk, (240ml) room temperature *can sub buttermilk
- 1 Tbsp1 Tbsp1 Tbsp Apple Cider Vinegar, (15ml) *see note if using regular buttermilk
- 2 cups2 cups2 cups Vegan Buttery Spread, (454g) bricky-style & room temperature
- 4 cups4 cups4 cups Powdered Sugar, (480g)
- 1 cup1 cup1 cup Cocoa Powder, (80g) unsweetened
- 1 Tbsp1 Tbsp1 Tbsp Vanilla Extract, (15ml)
- 1 tsp1 tsp1 tsp Salt, teaspoon fine
- 0.25 cup0.25 cup0.25 cup Sprinkles, optional: for decor
Buy Ingredients on the FoodSocial Market
Shop over 3500 products from unique and independent, creator-curated brandsProcess
Note, these instructions are written assuming the standard serving size, since you have modified the number of servings, these steps may need to be modified for best results
- Yellow cake
- Preheat the oven to 350 F and prepare two 8-inch or 9-inch round cake pans with non-stick baking spray and parchment paper.
- In a small mixing bowl or glass, whisk together the milk and apple cider vinegar and set aside to allow it to curdle. Skip the step if using regular buttermilk.
- In a stand mixer or large mixing bowl with a handheld mixer, cream together the butter and sugar until light and fluffy. This should take approximately 5 minutes.
- Add in the egg yolks and vanilla and mix until fully combined.
- Measure in the flour, cornstarch, baking powder, and salt and start to mix on low.
- With the mixer on low, slowly pour in the buttermilk. Turn the mixer up to medium and mix until combined and a smooth batter forms. Set aside.
- In a stand mixer or mixing bowl with a hand-held mixer, add the egg whites and cream of tartar (if using) and whip on high speed until stiff peaks are achieved. They should hold a thick peak when held upright.
- With a spatula, VERY gently fold the whipped egg whites into the cake batter until just combined. Be careful to not overmix. This will cause the cake layers to sink.
- Divide the batter evenly into the prepared cake pans and bake for approximately 25-30 minutes or until a toothpick inserted in the center comes out clean.
- Remove from the oven and allow the cake layers to cool in the pan for 15 minutes before removing to a wire rack to fully cool. Note that the cake layers are very tender. Handle with care.
- Chocolate Frosting
- In a stand mixer or large mixing bowl with a handheld mixer, cream the butter on high speed until light and fluffy. This should take approximately 5-10 minutes.
- Add in the powdered sugar, cocoa powder, vanilla, and salt and mix on low until combined. Turn the mixer up to high and allow to cream for 5 minutes.
- Cake Assembly
- Level each fully cooled yellow cake layer with a cake leveler or knife if needed. *The layers should bake flat though.
- Place one leveled layer of cake on a cake board, plate, and/or cake turntable and top with approximately 2 cups of chocolate buttercream.
- Top with the remaining cake layer and very gently apply a thin coat of buttercream to the entire cake. Chill the cake for 10-20 minutes. *If the cake feels unstable or the buttercream becomes too soft at any point while stacking, stop and chill the cake and frosting for 15 minutes.
- Cover the cake with a final layer of buttercream and smooth the sides with a cake smoother and/or offset spatula.
- Decorate the cake as you please. I piped Wilton 1m swirls around the top border of the cake. Sprinkle on fun nonpareil sprinkles if desired. Enjoy!
- Store leftovers in an airtight container in the fridge for up to 7 days or in the freezer for up to 6 months.
Notes
*Omit apple cider vinegar if using regular buttermilk
Add a Note
My Notes:
About This Recipe
Show nutritional information
Baked Goods Cakes Coconut Free Dairy Free Frostings & Toppings Pescetarian Shellfish Free Sugar Alcohol Free Vegetarian| This is our estimate based on online research. | |
| Calories: | 358 |
| Fat: | 1 g |
| Carbohydrates: | 80 g |
| Protein: | 4 g |
| Cholesterol: | 0 g |
| Sodium: | 285 mg |
| Fiber: | 7 g |
| Sugars: | 55 g |
| Sugar Alcohol: | 0 g |
| Calculated per serving. | |
")


")
")
")
")
")
")
")


")


")


Leave a Reply
You must be logged in to post a comment.