Individual Fruit Pizzas
This recipe can also be found in the Back Porch Paleo cookbook, linked in our profile! For many years, a fruit pizza was a guaranteed staple at almost every celebratory event for our family. Birthday party? Yep. Graduations? For sure. Weddings, even? Absolutely. This is a delightfully bright dessert because it's covered in the most beautiful fresh fruits. The special thing about this recipe is that the pizzas are individual--the customization is sure to make these a hit at your next celebratory gathering!
Ingredients
Cookies
- 1/2 cup1/2 cup1/2 cup Kite Hill Sour Cream Alternative, (120 ml)
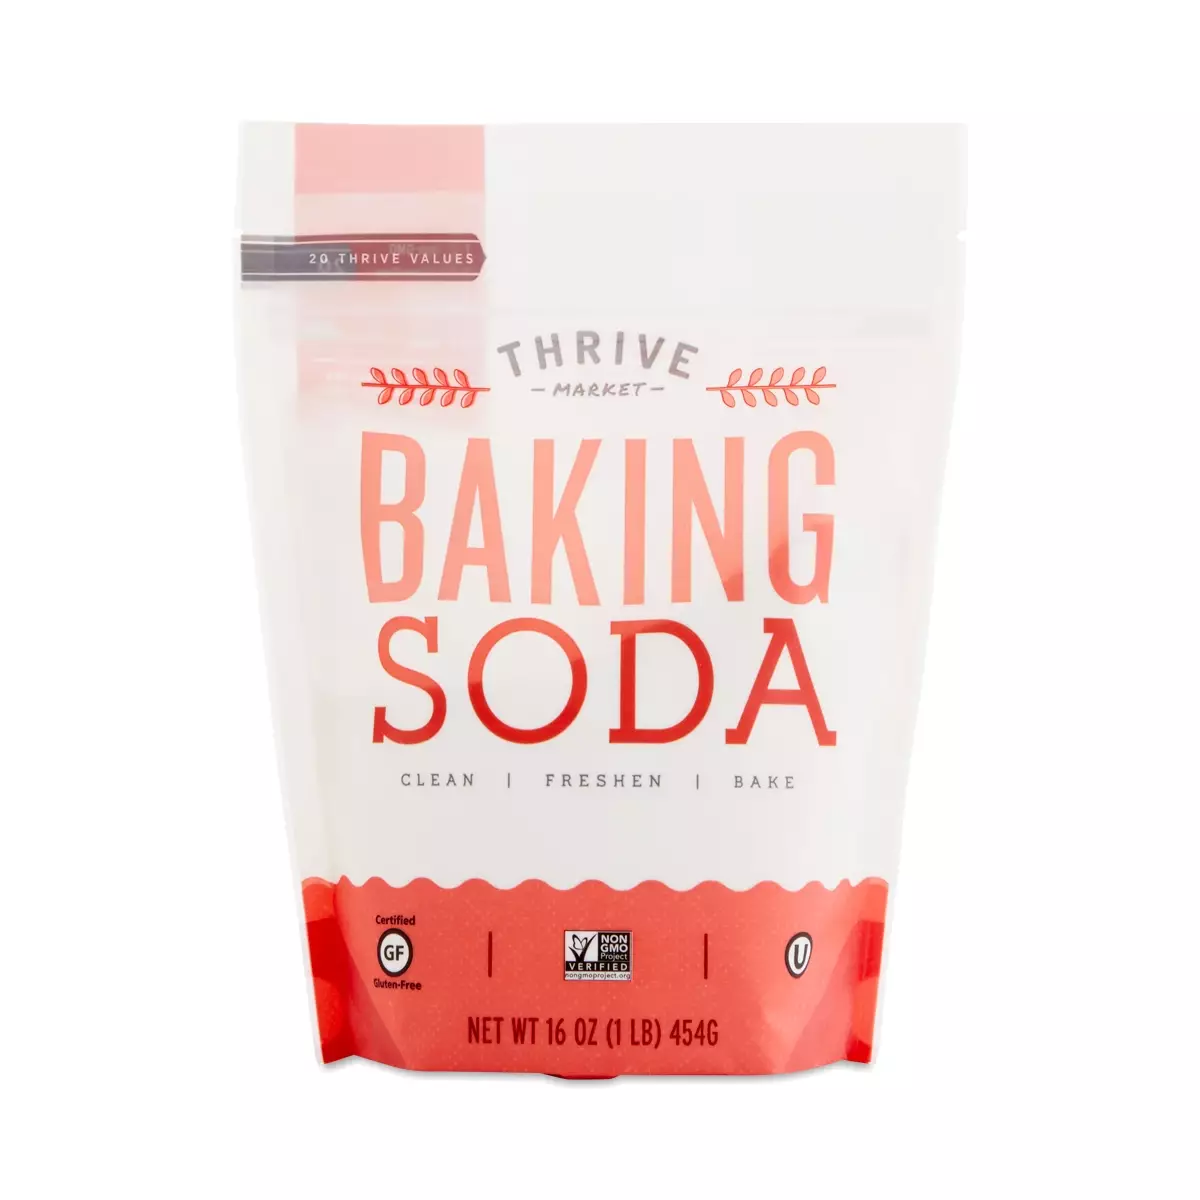
- 1/2 tsp1/2 tsp1/2 tsp Baking Soda

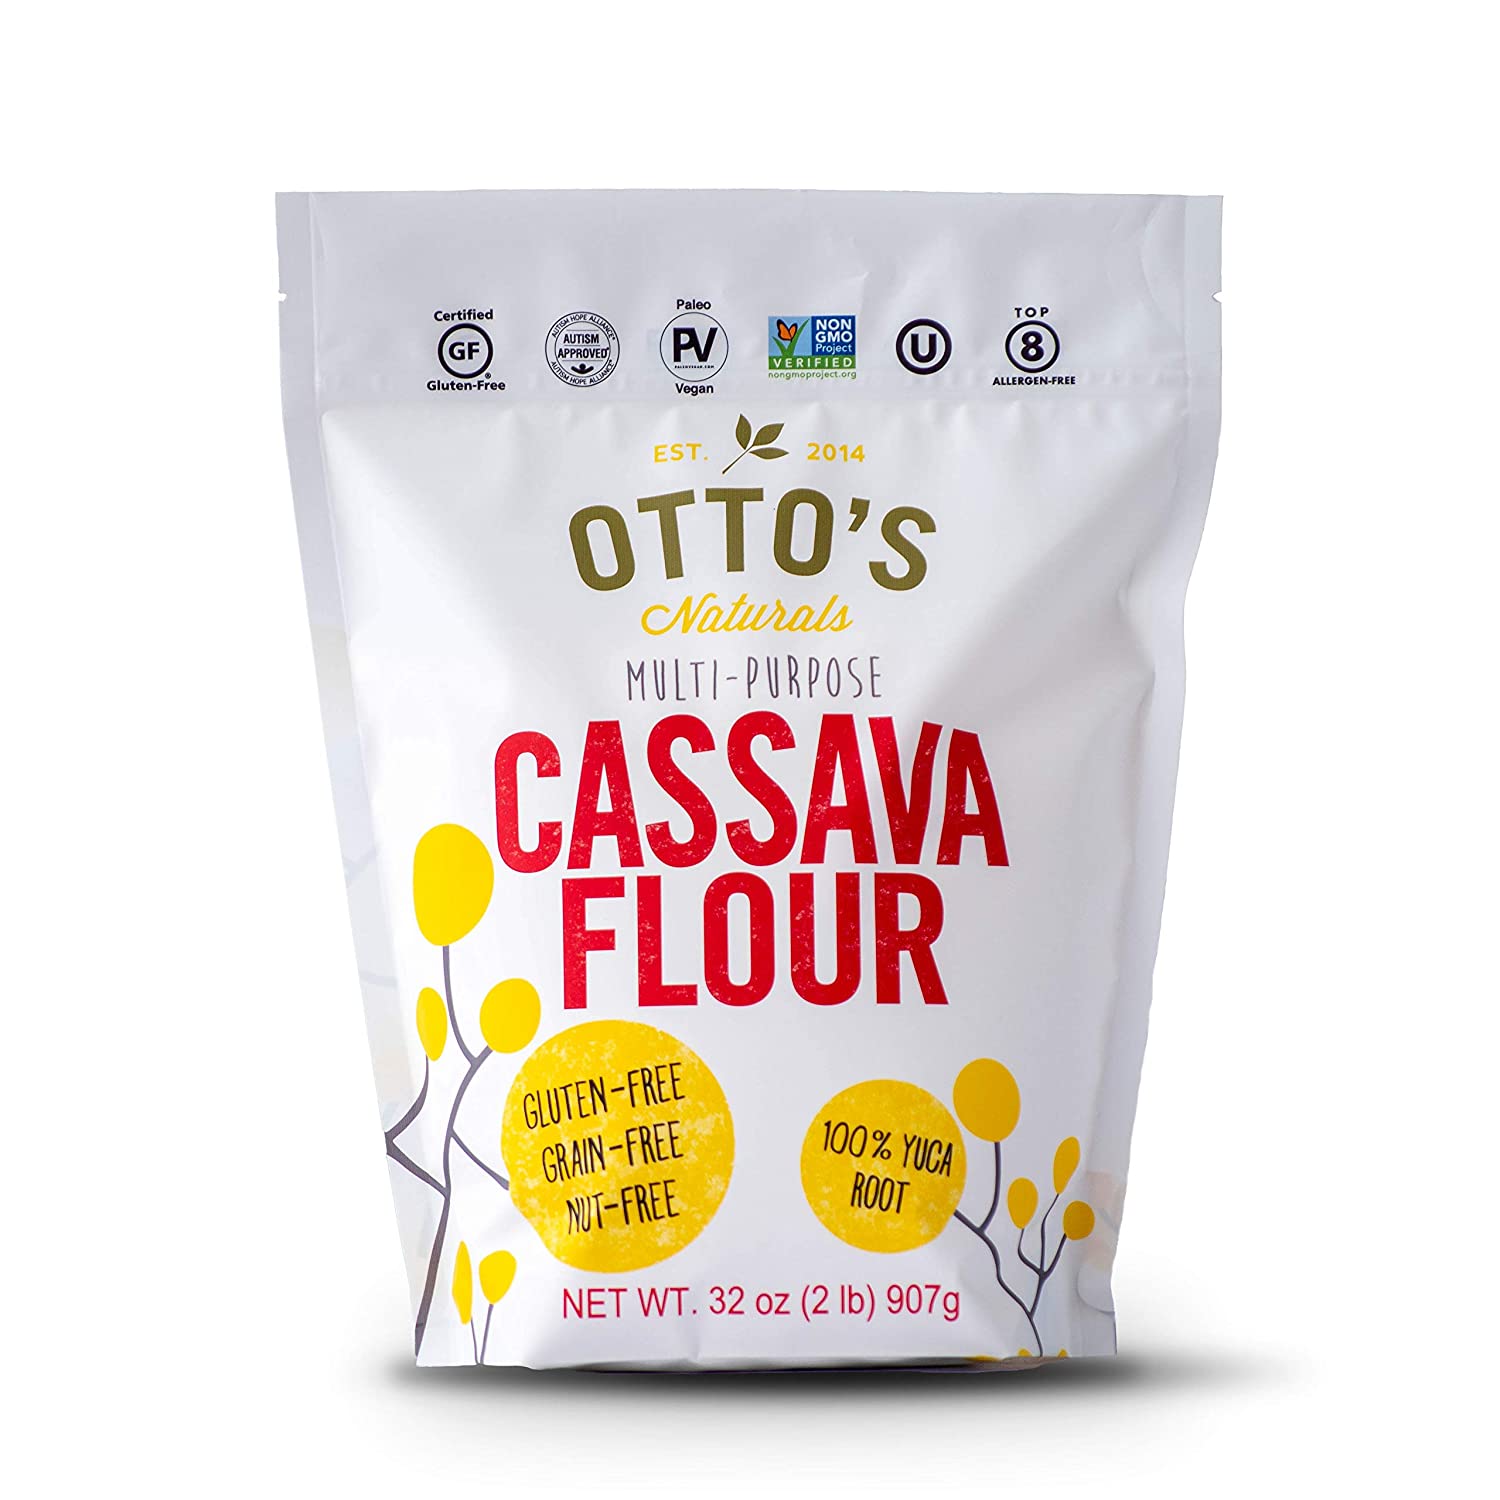
- 2 cups2 cups2 cups Cassava Flour, plus additional as needed (266 g)

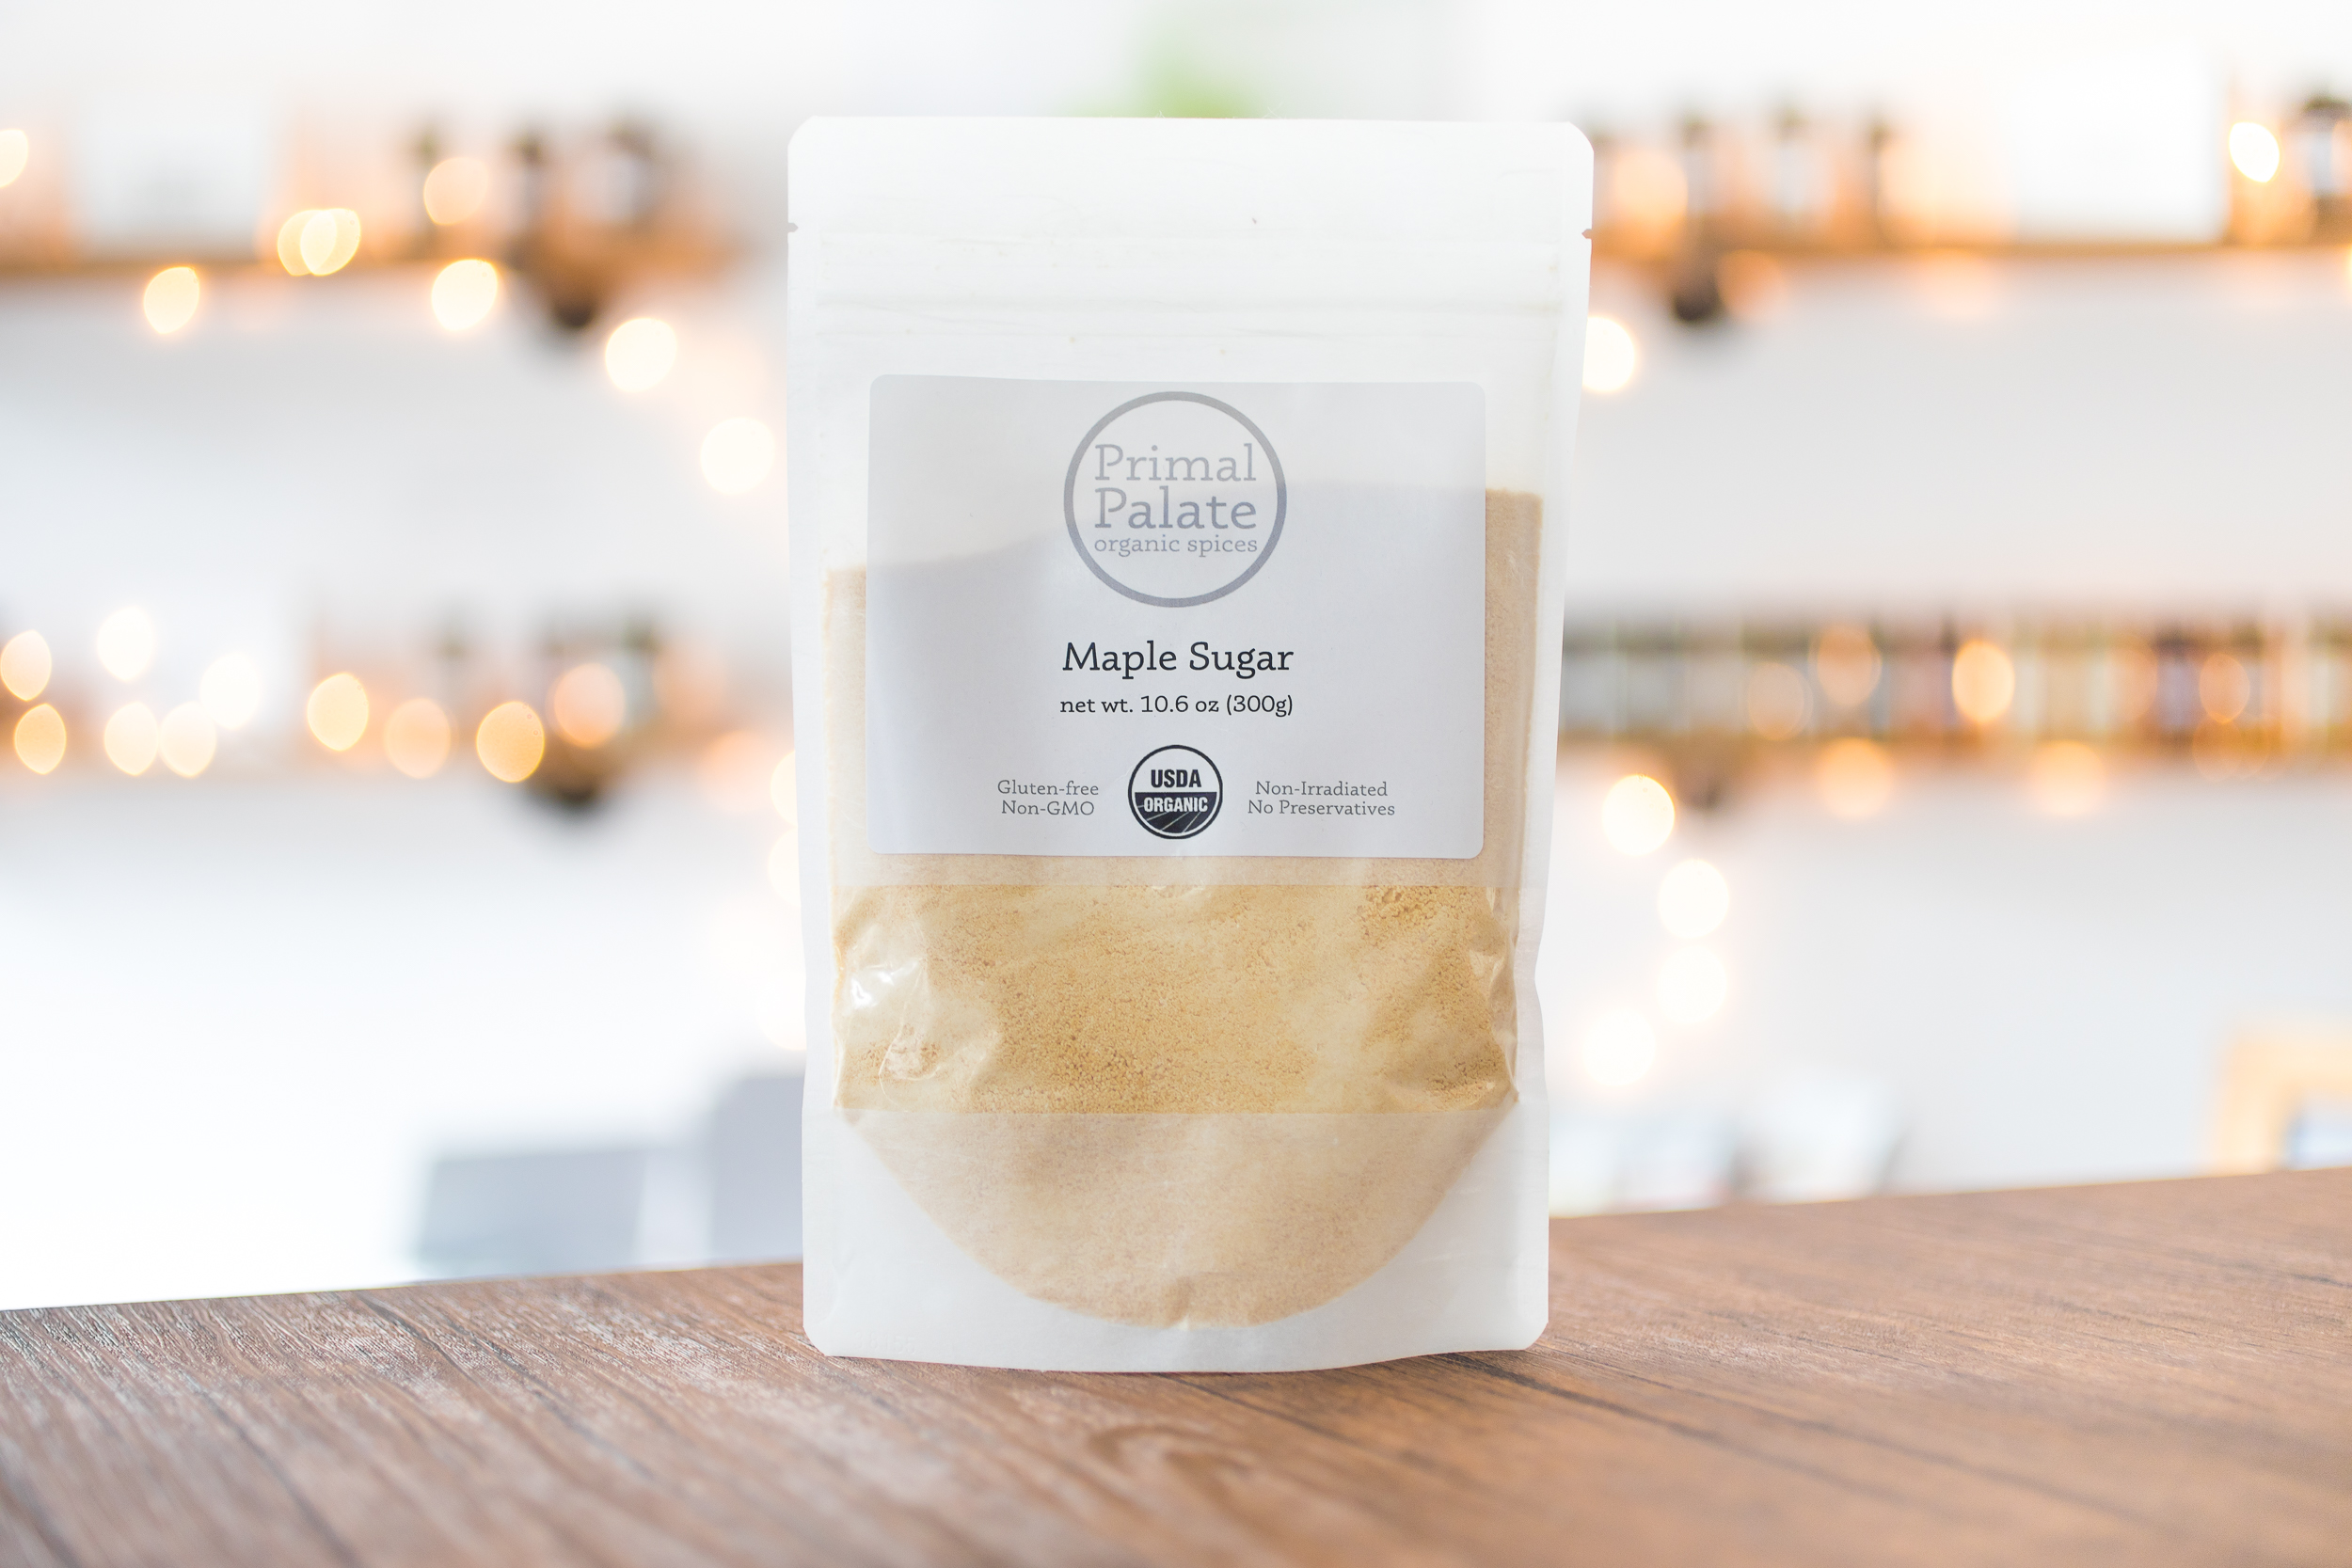
- 1 cup1 cup1 cup Maple Sugar, (188 g)

- 1 tsp1 tsp1 tsp Baking Powder

- 1/4 tsp1/4 tsp1/4 tsp Redmond Real Salt, or fine sea salt

- 1/2 cup1/2 cup1/2 cup Organic [*Spectrum Brand, sustainably sourced] Palm Oil Shortening, (96 g)

- 222 Eggs, large
- 1 tsp1 tsp1 tsp Pure Vanilla Extract

- 1/2 tsp1/2 tsp1/2 tsp Apple Cider Vinegar

Frosting
- 8 oz8 oz8 oz Kite Hill Cream Cheese, (224 g)

- 1 cup1 cup1 cup Grain-free Powdered Sugar, (120 g)

- 1/2 tsp1/2 tsp1/2 tsp Pure Vanilla Extract

Suggested Toppings


Process
Note, these instructions are written assuming the standard serving size, since you have modified the number of servings, these steps may need to be modified for best results
- To make the cookies, preheat the oven to 400˚F (204˚C). Prepare two 13 x 18-inch (33 x 45-cm) baking sheets by lining them with parchment paper or silicone baking mats.
- In a small bowl that can hold at least 1 cup (240 ml), combine the sour cream and baking soda, stirring them well. This mixture will "bloom," so that's why it is important to make sure your bowl can hold at least 1 cup (240 ml). Set the bowl aside.
- In a medium bowl, whisk together the cassava flour, maple sugar, baking powder and salt. Set the flour mixture aside.
- In another medium bowl, combine the shortening, eggs, vanilla, and apple cider vinegar. Using a hand mixer, whip the ingredients for 45 to 60 seconds, until they are fluffy. Add the flour mixture to the shortening mixture, initially mixing slowly to avoid a puff of flour and increasing the mixer's speed until the two mixtures are incorporated. The mixture will be crumbly. Add the sour cream mixture and continue mixing for 30 to 45 seconds, until the dough come together.
- Divide the dough in half. Leave one half in the bowl, covered, while you roll out the other half. Lay down a 13 x 18-inch (33 x 45-cm) piece of parchment paper and lightly dust it with the additional cassava flour. Place the first half of the dough in the center of the parchment paper, dusting it with more cassava flour. Grab an additional 13 x 18-inch (33 x 45-cm) piece of parchment paper, and place it on top of the dough.
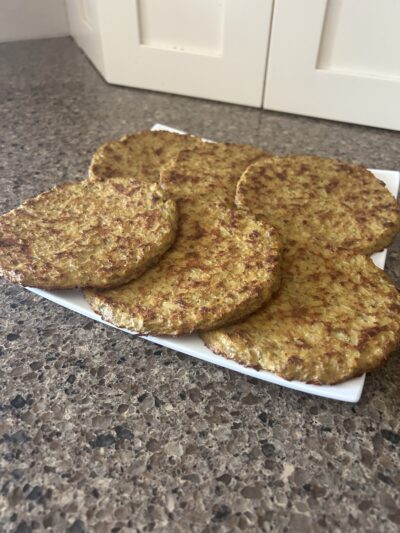
- Roll out the dough between the pieces of parchment paper until it is approximately 1/4 inch (6 mm) thick, lightly dusting the dough and parchment paper with the cassava flour as needed. Cut out the cookies as desired--we use a 4 1/2-inch (11-cm) round cookie cutter. Place the cookies on the prepared baking sheets, spacing the cookies 1 inch (2.5 cm) apart. Reroll the dough scraps until the dough is completely used. Repeat these steps with the other half of the dough.
- Bake the cookies for 8 to 10 minutes, or until the edges just begin to turn brown. Remove the cookies from the oven and let them cool completely before moving.
- While the cookies cool, make the frosting. In a small bowl, use a hand mixer to combine the cream cheese, powdered sugar and vanilla for approximately 60 seconds, until the frosting is fluffy. If you're enjoying the fruit pizzas right away, spread each cookie with the desired amount of frosting and top each individual pizza with some of our suggested toppings, or whatever your favorites are. If you like a lot of frosting on each pizza, you may want to make a double batch of frosting. If you're not enjoying the fruit pizzas right away, wait to frost the cookies until right before you serve them.
Notes
The cookies can be made ahead of time. Store them in a freezer-safe container, separated by parchment paper, in the freezer for up to 2 months. The frosting can be made ahead of time but is best used within 3 to 4 days.
Add a Note
My Notes:
About This Recipe
Baked Goods Dairy Free Desserts Gluten Free Nightshade Free Pescetarian Shellfish Free VegetarianNever Miss a Bite
Get recipes delivered to your inbox every week









Leave a Reply
You must be logged in to post a comment.