Homemade Nilla Wafers
Another favorite of mine growing up, but without the preservatives, vegetable oils, or artificial flavors!
These are gluten free, dairy free, and I kid you not, taste JUST like I remember them!
Ingredients
- 2 whole2 whole2 whole Egg
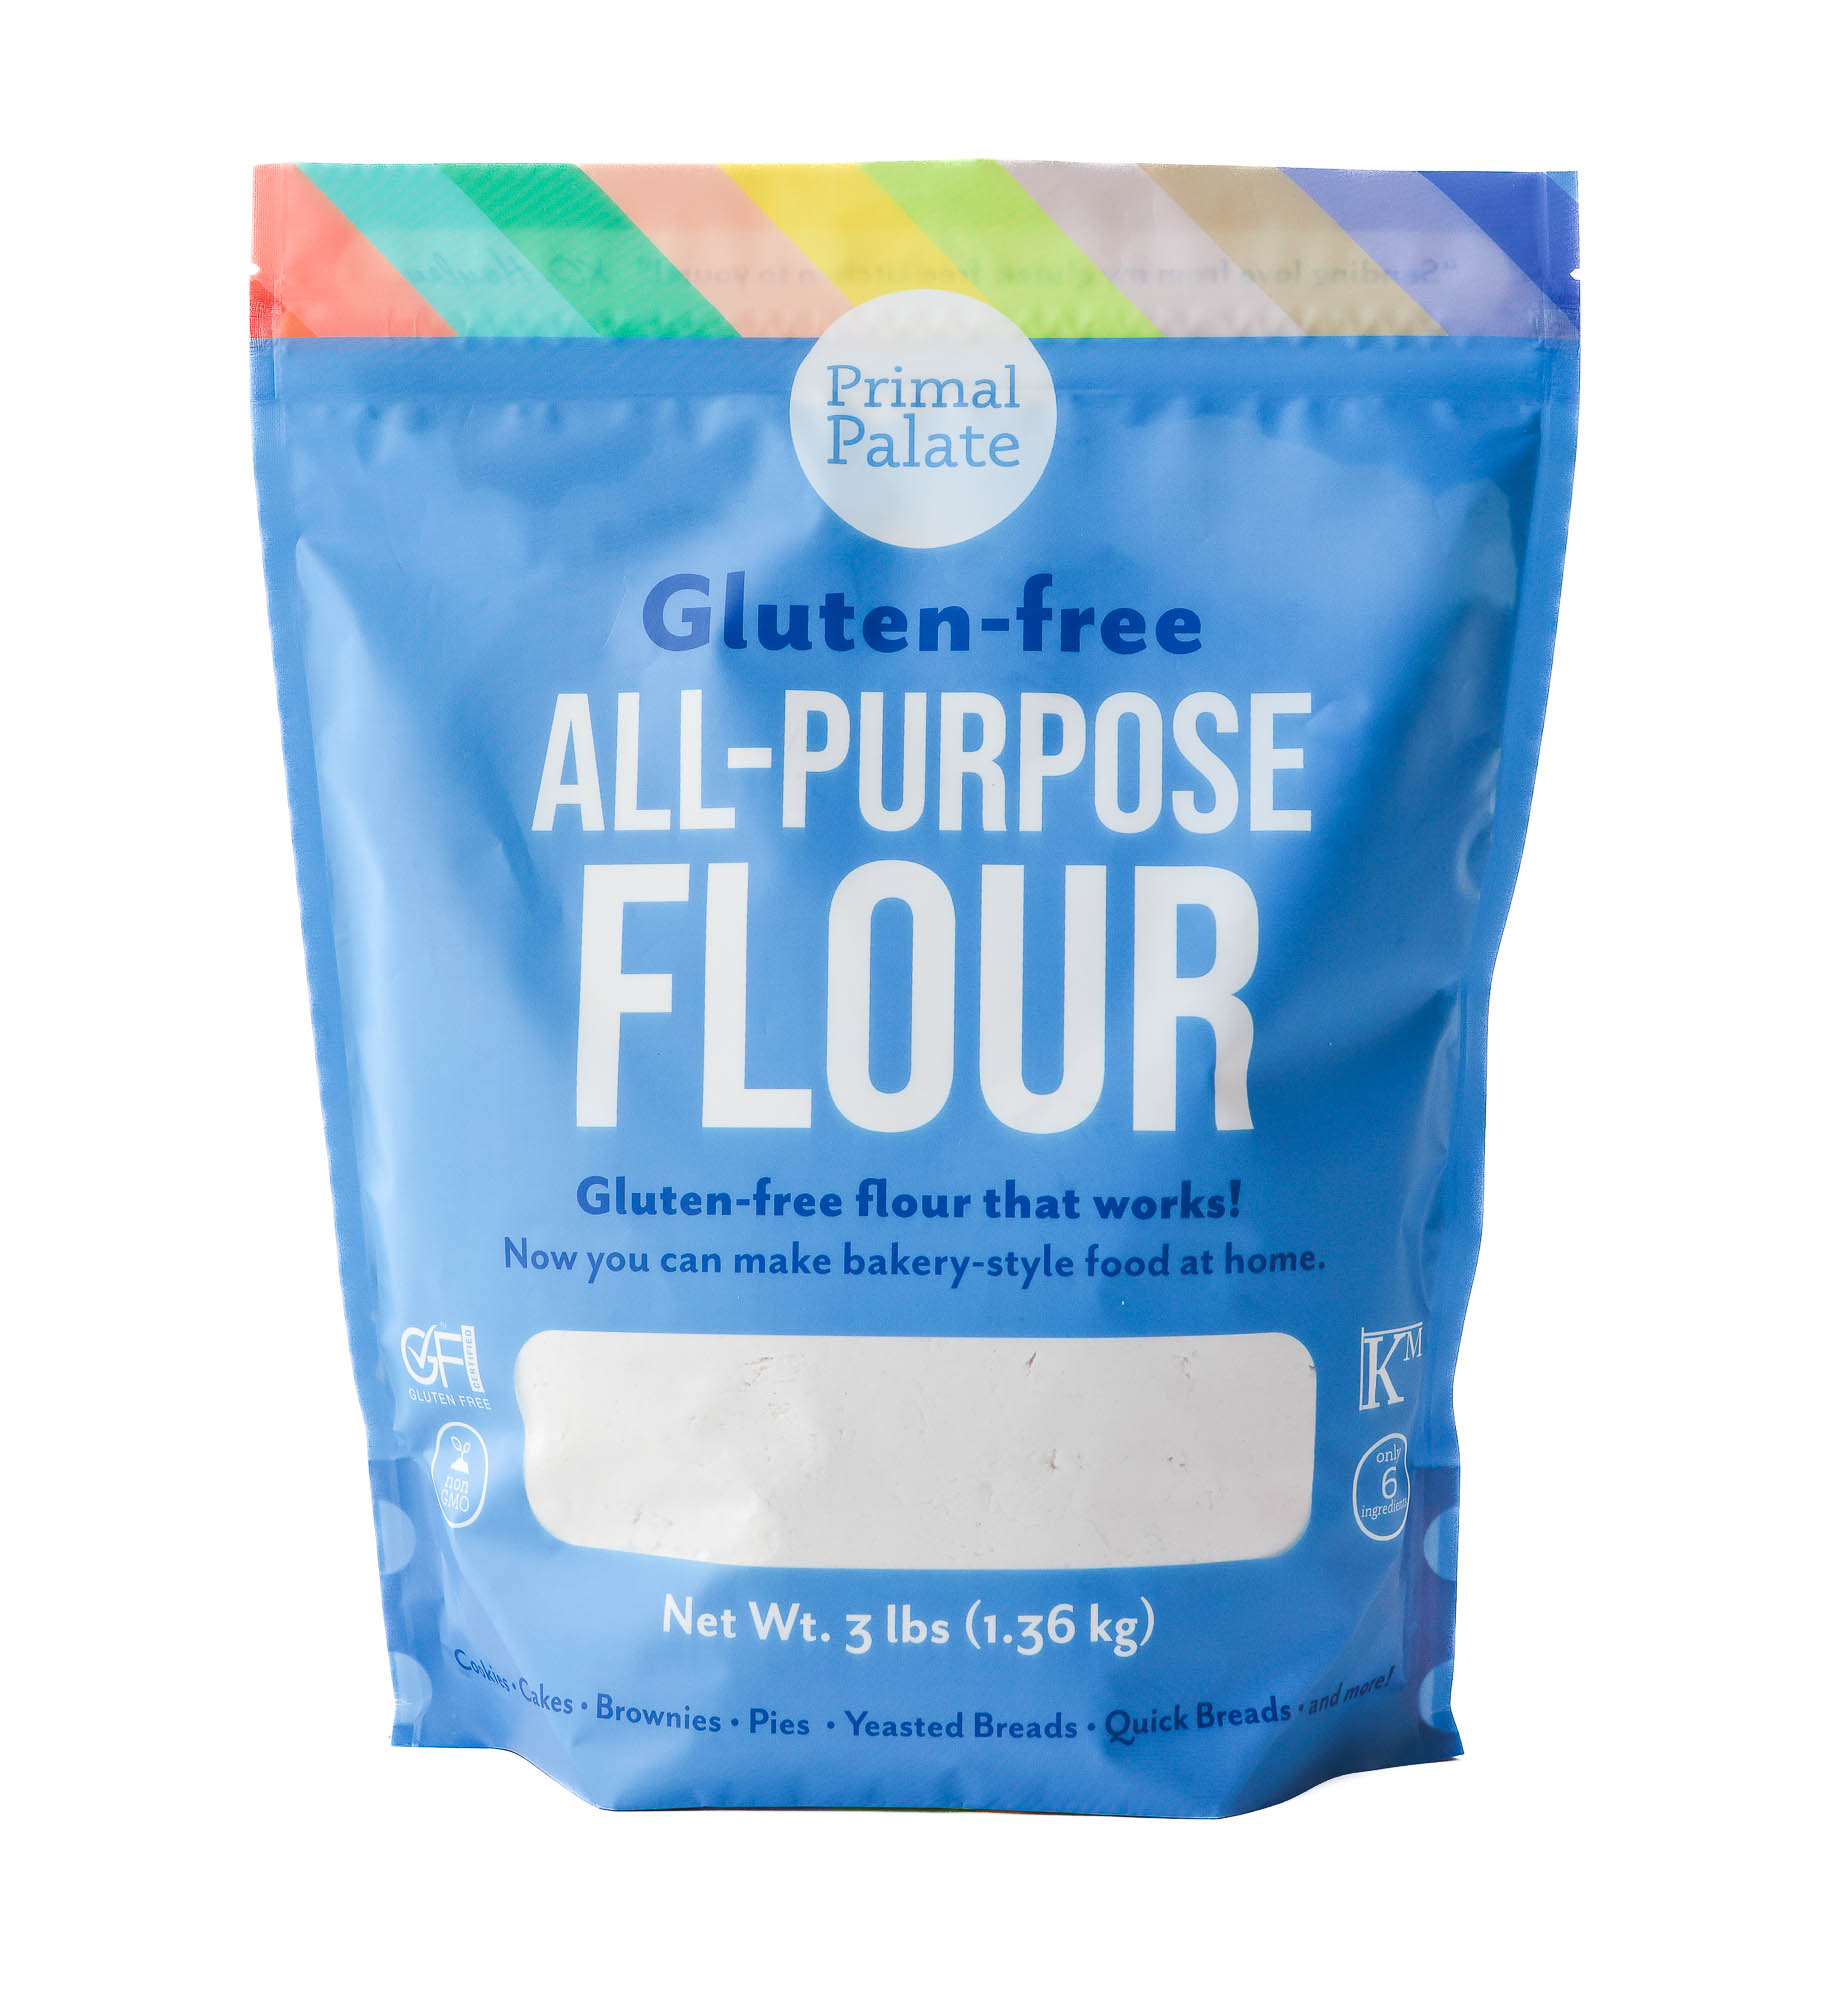
- 1 cup1 cup1 cup Gluten Free Flour, I used bobs 1:1 flour

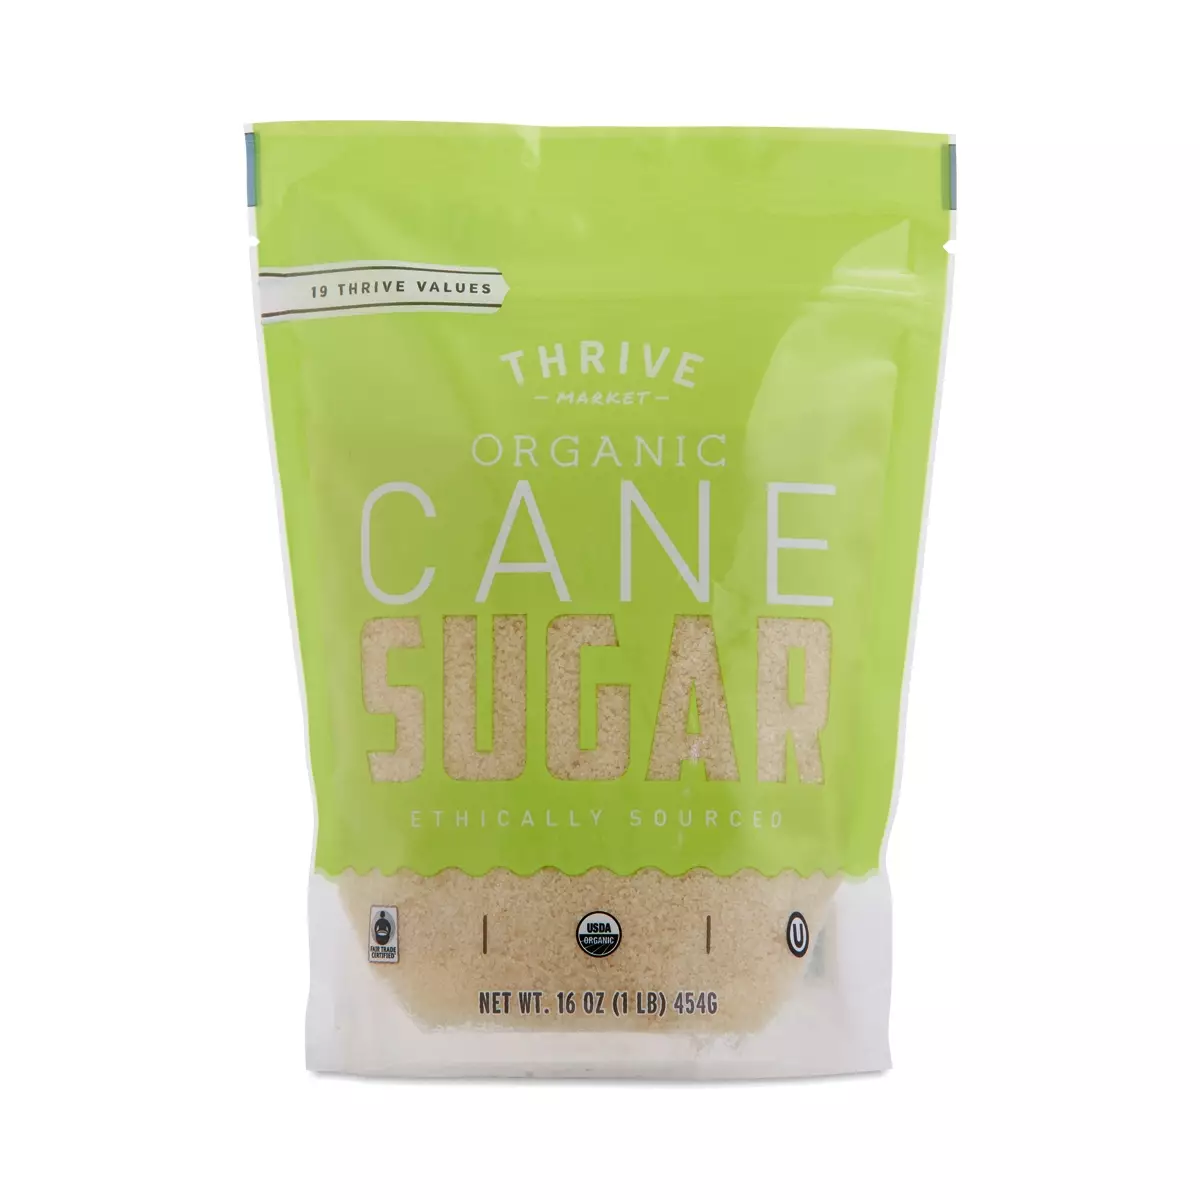
- 6 Tbsp6 Tbsp6 Tbsp Cane Sugar, Organic

- .5 cup.5 cup.5 cup Almond Flour

- 1.5 tsp1.5 tsp1.5 tsp Baking Powder

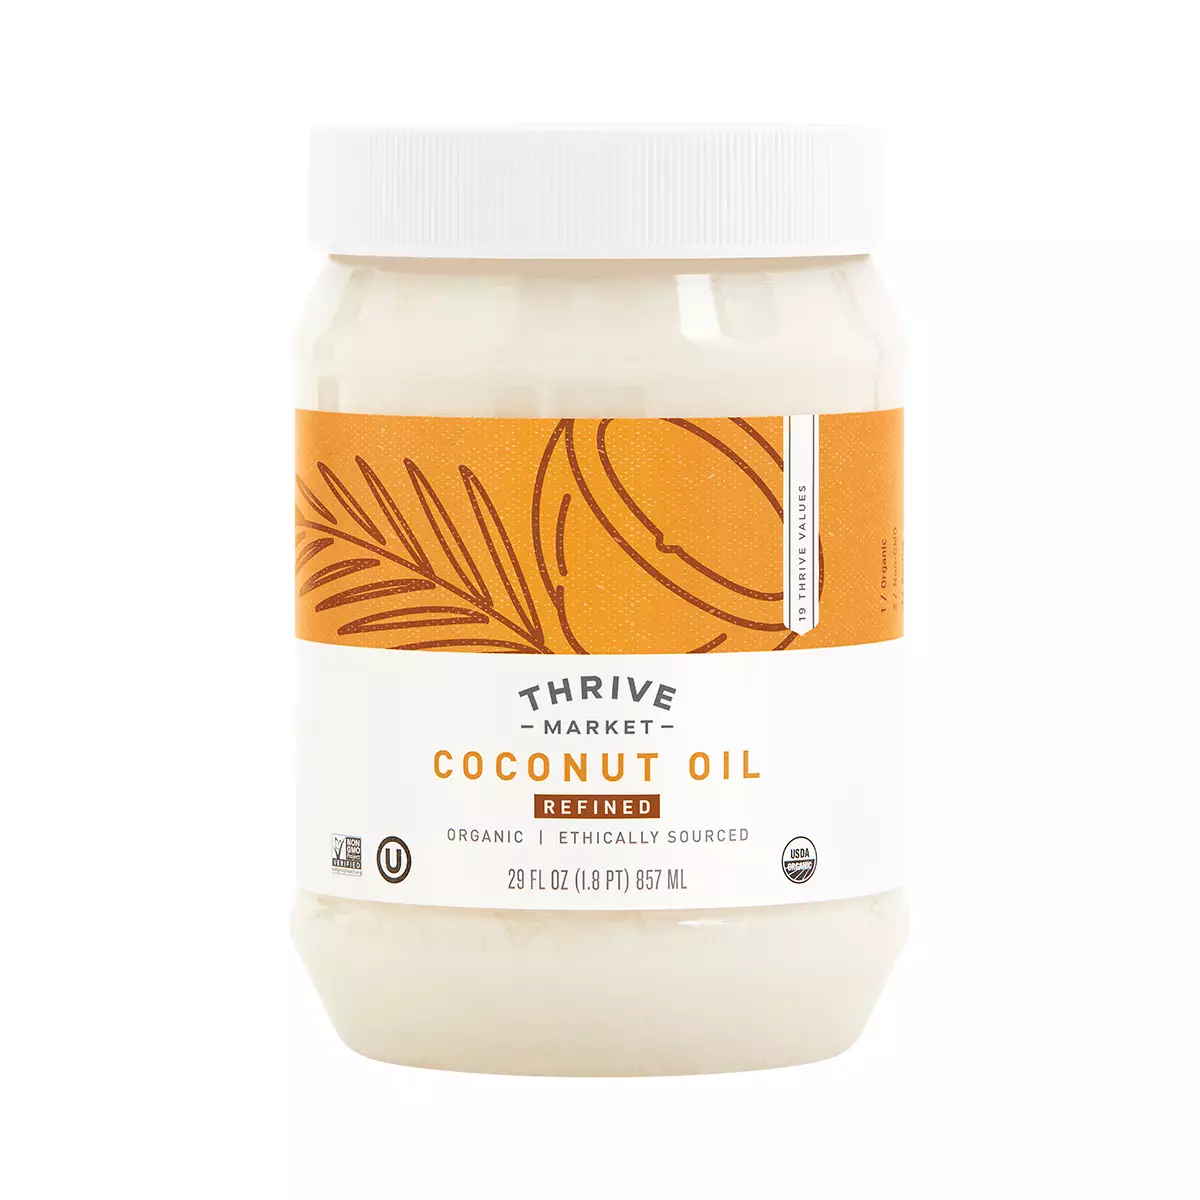
- 4 Tbsp4 Tbsp4 Tbsp Coconut Oil, Softened

- 2 Tbsp2 Tbsp2 Tbsp Almond Milk
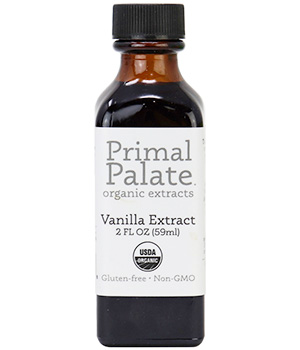
- 1 Tbsp1 Tbsp1 Tbsp Pure Vanilla Extract

Process
Note, these instructions are written assuming the standard serving size, since you have modified the number of servings, these steps may need to be modified for best results
- Whisk dry ingredients together until no more lumps
- Add your wet ingredients and mix together until an easy to handle dough ball is achieved
- I found refrigerating your dough for 15 minutes makes for easier handling, without having to use much extra flour and risk cracking
- Take about 1/2 tbsp of dough and roll into a ball then flatten slightly. Place on parchment paper lined baking sheet
- Bake at 350 for 15-17 min until slightly golden in color
- Allow to cool and enjoy!
- Store in an airtight container
Notes
If your dough is too sticky you can refrigerate it for 10-20 minutes prior to rolling into balls feel free to coat hands in flour prior to rolling, just don't overdo it as it will cause dry cookies and cracking i used bobs red mill 1:1 baking flour and what I recommend for this recipe. This contains rice flour making it a tad drier than gluten free all purpose flour. If you're using gluten free all purpose flour your dough will be more sticky so I would definitely refrigerate your dough
Add a Note
My Notes:
About This Recipe
Cookies Dairy Free Desserts FODMAP Free Gluten Free Pescetarian Shellfish Free VegetarianNever Miss a Bite
Get recipes delivered to your inbox every week








Leave a Reply
You must be logged in to post a comment.