
Paleo Waffle Cones
Could summer get any better than this? We’re bringing the ice cream fun back with these paleo waffle cones! The original recipe was developed a few years ago as a birthday treat for my hubby so we could make some paleo Drumsticks. It was a hug hit and we ate them all summer long. You can also make mini cones or Pizzelles with this batter, see note section below for details on that as well as an egg-free option.
15 minutes
25 minutes
Difficulty:
Intermediate
Show nutritional information
| This is our estimate based on online research. | |
| Calories: | 142 |
| Fat: | 6 g |
| Carbohydrates: | 21 g |
| Protein: | 3 g |
| Cholesterol: | 15 g |
| Sodium: | 111 mg |
| Fiber: | 1 g |
| Sugars: | 10 g |
| Calculated per serving. | |


Serves: 16
Ingredients
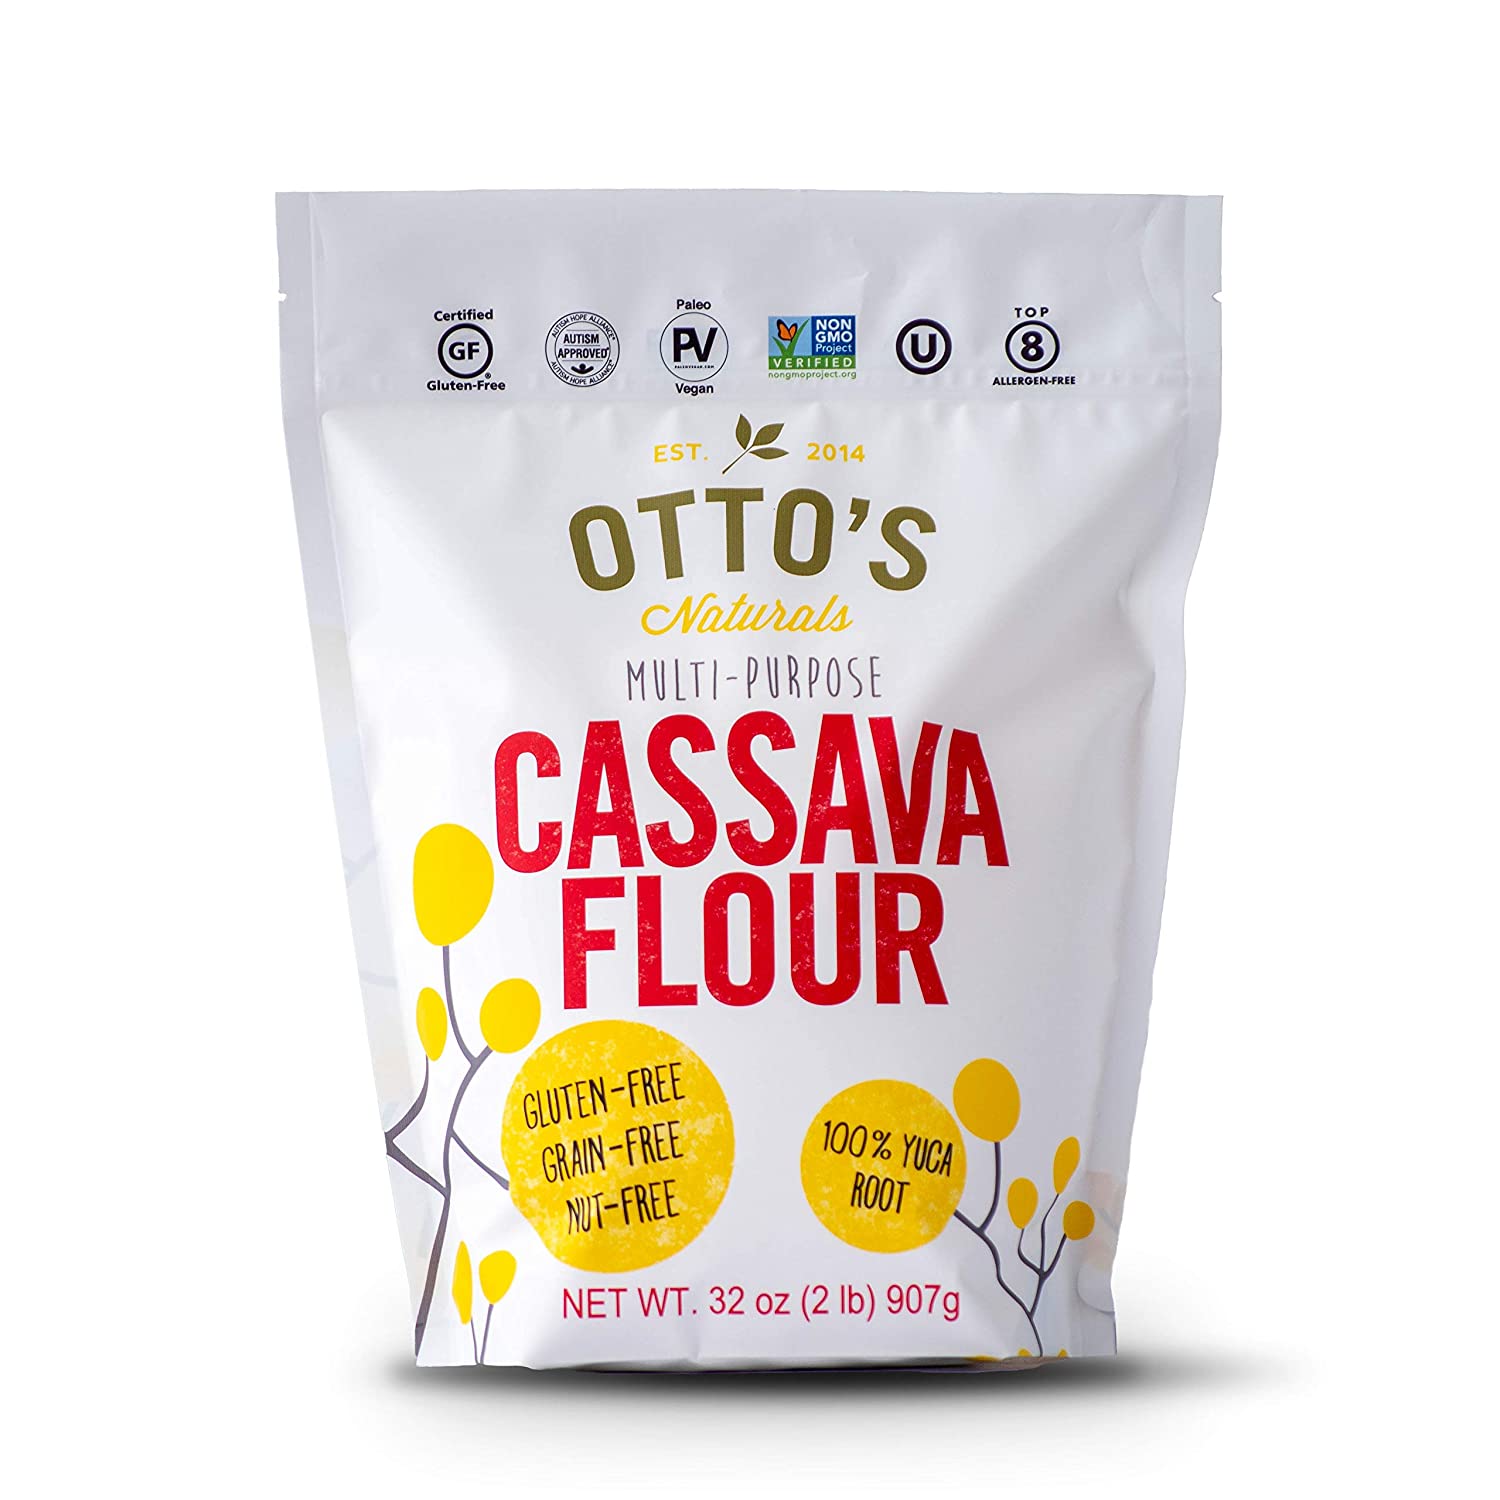
- 1.5 cup1.5 cup1.5 cup Cassava Flour

- 2 tsp2 tsp2 tsp Baking Powder
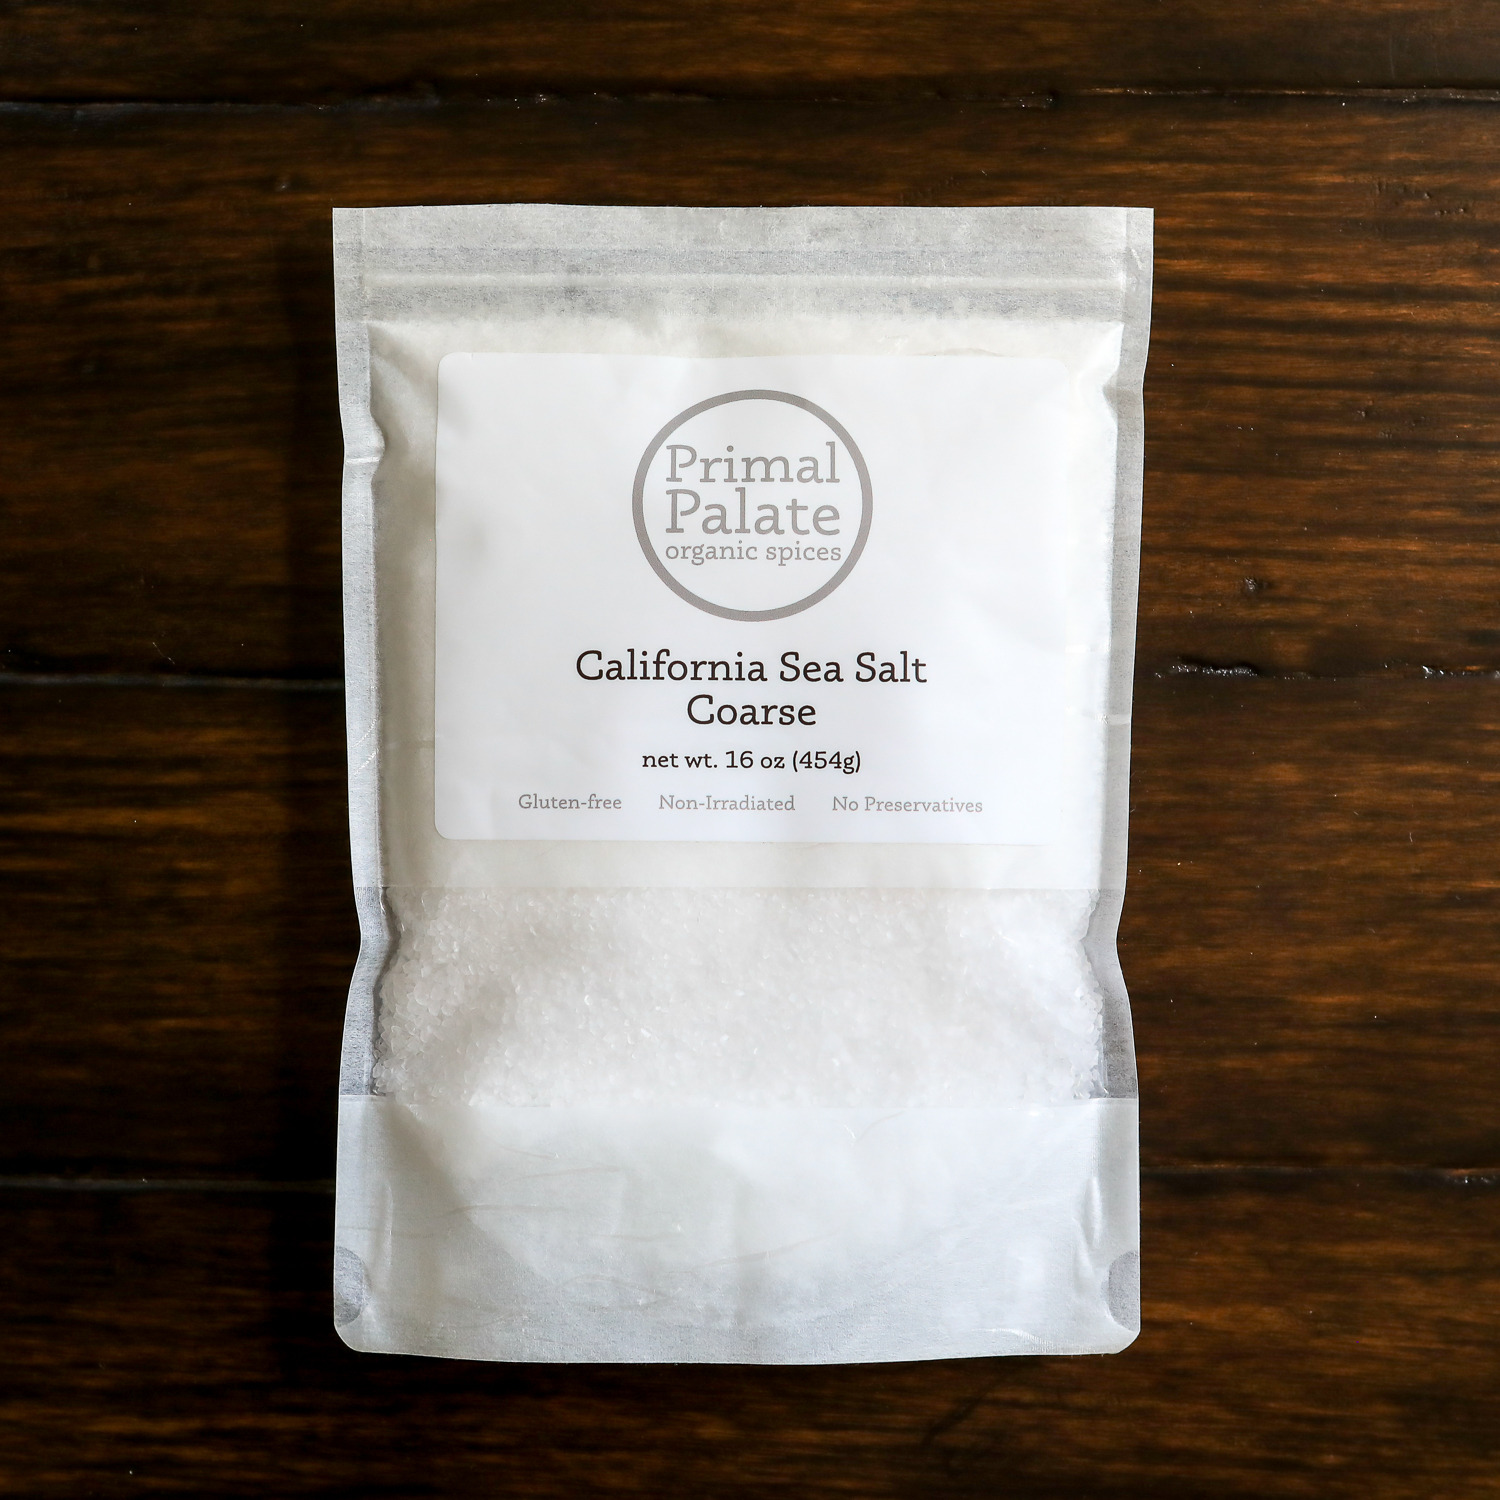
- 1 pinch1 pinch1 pinch Sea Salt
- 3 whole3 whole3 whole Eggs, room temperature (*can sub a gelatin egg, but see details below)
- .75 cup.75 cup.75 cup Pure Maple Syrup
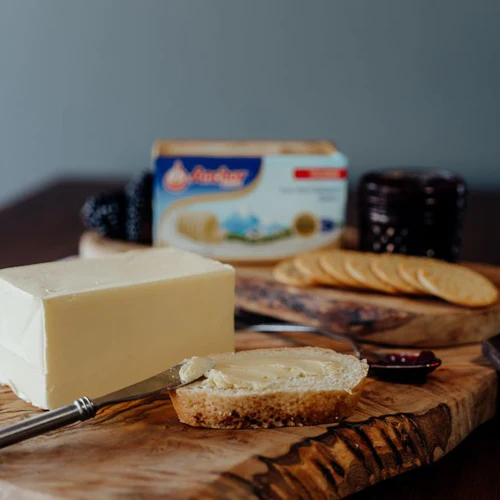
- .5 cup.5 cup.5 cup Unsalted Butter, melted (can sub coconut oil or avocado oil)
- 1 Tbsp1 Tbsp1 Tbsp Vanilla Extract
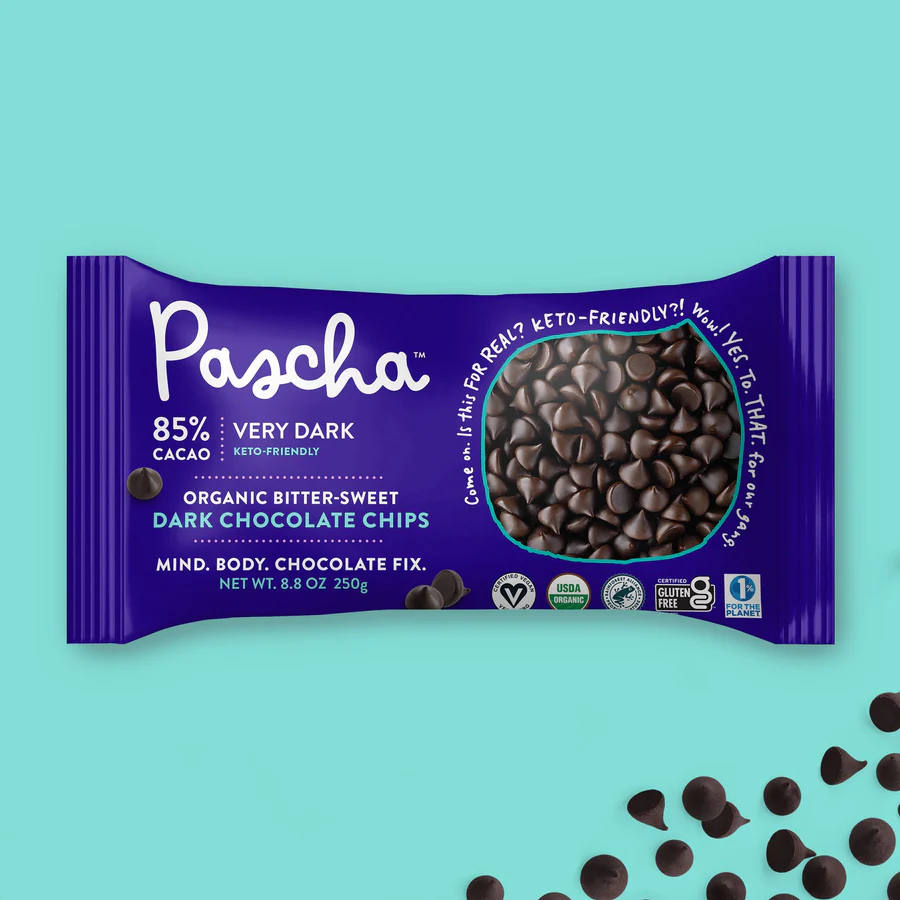
- 1 whole1 whole1 whole Dark Chocolate Chips, handful (optional)

Process
Note, these instructions are written assuming the standard serving size, since you have modified the number of servings, these steps may need to be modified for best results
- In a medium bowl, whisk cassava flour and baking powder together, set aside.
- In another bowl, add eggs and maple syrup and mix with an electric mixer until well combined.
- Add melted butter and vanilla to egg/syrup mixture and continue mixing til all ingredients are well combined.
- Pour this mixture into the dry ingredients and using the mixer, slowly combine all ingredients. The batter will thicken up a bit as it sits.
- Preheat the waffle cone maker according to the manufacturer's directions and begin making cones. While cones are still warm, we like to drop about 3-4 chocolate chips in the bottom so they melt. This creates the perfect "seal" so that your ice cream doesn't drip out the bottom!
- Makes approximately 12-18 cones depending on your waffle cone maker.
- For dairy free version, use equal amounts of coconut oil. They seem to crisp up faster for us than the butter version but this may vary depending on your iron.
- For chocolate version, omit the 1 T vanilla, add 3 T cocoa powder to dry ingredients and add an additional 3 T maple syrup.
Notes
EGG SUB: When using a gelatin egg or egg sub, keep in mind that the batter will become thicker as it sits, so by the time you're about a half way through the batter, you'll basically be able to roll it into balls and place in the maker. I'd probably suggest making a half batch at a time instead of a full batch.<br> PIZZELLES: I used this PIZZELLE IRON to use the batter for very fun pizzelle cookies or mini cones.
Add a Note
My Notes:


")


Never Miss a Bite
Get recipes delivered to your inbox every week


")

")


Leave a Reply
You must be logged in to post a comment.