lemon tart
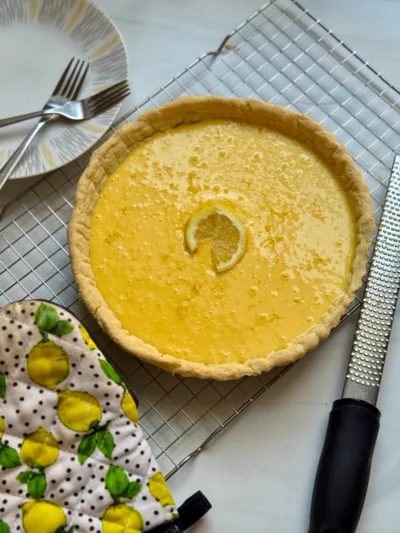
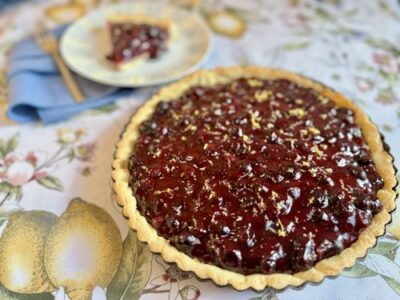
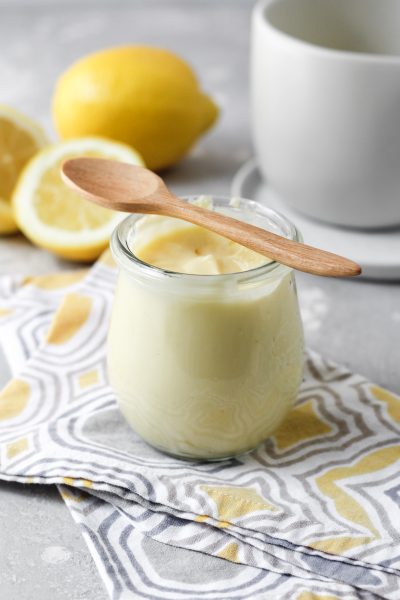
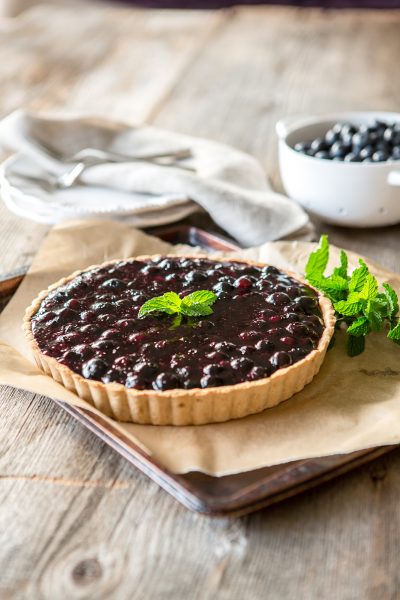
A dreamy lemon dessert perfect for all your upcoming Spring brunches, buffets or family gatherings. Top with all your favorite berries, or go all blueberry! This one is super customizable that way. To make the crust especially complimentary to the filling, I’ve added lemon zest as well as using a Lemoncello sparkling water in the mixing process.
Ingredients
- 1 whole1 whole1 whole Paleo/GF Pie Crust (click for recipe)
- 1 tsp1 tsp1 tsp Lemon Zest, (opt)
- .25 cup.25 cup.25 cup Sparkling Water, lemon (opt)
- 1 whole1 whole1 whole Egg, whisked (for egg wash, opt)
- 1-2 tsp1-2 tsp1-2 tsp Vanilla Infused Sugar, (opt)

- .25 cup.25 cup.25 cup Water
- 2.25 tsp2.25 tsp2.25 tsp Gelatin, Unflavored

- 1 cup1 cup1 cup Maple Sugar

- .66 cup.66 cup.66 cup Lemon Juice, fresh

- 4 tsp4 tsp4 tsp Lemon Zest
- .25 tsp.25 tsp.25 tsp Sea Salt, fine

- 6 whole6 whole6 whole Egg Yolk, room temperature
- 1.5 cup1.5 cup1.5 cup Yogurt, Plain, diary free or yogurt of choice
- 1-2 cups1-2 cups1-2 cups Blueberries, w/ blackberries, strawberries or fruit of choice
- 2 Tbsp2 Tbsp2 Tbsp Apricot Jam, Unsweetened, optional
Buy Ingredients on the FoodSocial Market
Shop over 3500 products from unique and independent, creator-curated brandsProcess
Note, these instructions are written assuming the standard serving size, since you have modified the number of servings, these steps may need to be modified for best results
- Preheat your oven to 350°. Make a single pie crust as directed, adding lemon zest to dry ingredients and using ¼ cup lemon sparkling water instead of plain water.
- Roll out to approximately a 10-11” circle between two pieces of lightly dusted parchment paper. Carefully place this disc inside the tart pan and press it evenly into the bottom and up the sides of the tart pan. You’ll want it about ¼“ thickness all around. With the excess dough hanging over the edge, use your rolling pin and roll it right over the top of the pan and it will cut it right off. Poke holes along the bottom so steam can release while baking. Sprinkle bottom of the crust with organic sugar (opt) before baking.
- Place tart on a baking sheet and bake for 10 minutes. If you want to add the egg wash, now is the moment! Remove from the oven and brush the egg on the top edge of the tart crust and sprinkle with organic sugar if using. Return to the oven to continue baking for an additional 18-20 minutes or until the crust is golden brown.
- If you’re skipping the egg wash, no need to remove it from the oven. Bake for approximately 30-35 minutes or until the crust is light brown. Check it around 10 minutes in to make sure the bottom isn’t bubbling up. If it is, simply poke it with a fork to release the steam.
- Remove from the oven and cool completely.
- For the filling: place the ¼ cup water in a small saucepan, sprinkle the gelatin on top and set aside.
- Add maple sugar, lemon juice, lemon zest and salt to a medium sized saucepan. Heat over medium heat, stirring occasionally until sugar is melted. While this mixture heats up, add the egg yolks to a heatproof bowl and whisk well.
- Once sugar is melted, SLOWLY pour this warm mixture into the whisked eggs in a very thin stream, whisking eggs constantly, to temper them. Once all the warm mixture is mixed with the eggs, pour back into the pan. Heat this over medium heat, stirring constantly, until it begins to thicken. Roughly 4-5 mins.
- Pour this mixture into a heat safe bowl and mix with a hand mixer for about 5 minutes until lighter in color and slightly cooler. Heat up the gelatin mixture until melted and pour this in a small stream into the lemon/egg mixture, while mixing.
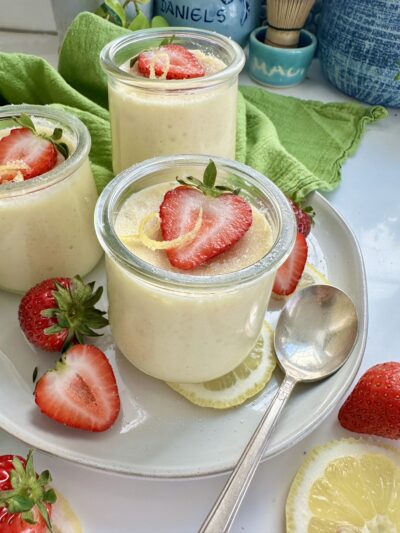
- Beat for another 5-7 minutes or until mixture is room temperature. Fold in the yogurt and whisk to combine. You should have about 4½ to 5 cups of filing. Pour 3’ish cups into the prepared tart shell. Pour the rest of the mixture into small ramekins and enjoy as an individual treat topped with fruit.
- Refrigerate for a minimum of 4 hours or until set. To serve, top with fruit of choice. Melt apricot jam in a small bowl and carefully brush the fruit, this step is totally optional but does make for a very shiny finish!
- Slice and enjoy!
Notes
The filling will make more than you need for a 9” tart shell. Pour the extra into individual ramekins for a single serving to “treat yourself” or you can halve the filling recipe and have your tart not quite as full but you can add a layer of non dairy whipped cream on top before you add that fruit? Just sayin’! That would be quite dreamy!
Add a Note
My Notes:
About This Recipe
Show nutritional information
Coconut Free Desserts Gluten Free Grain Free Nightshade Free Nut Free Pescetarian Shellfish Free Sugar Alcohol Free| This is our estimate based on online research. | |
| Calories: | 134 |
| Fat: | 4 g |
| Carbohydrates: | 28 g |
| Protein: | 6 g |
| Cholesterol: | 139 g |
| Sodium: | 109 mg |
| Fiber: | 1 g |
| Sugars: | 26 g |
| Sugar Alcohol: | 0 g |
| Calculated per serving. | |













Leave a Reply
You must be logged in to post a comment.