Paleo/GF Pie Crust
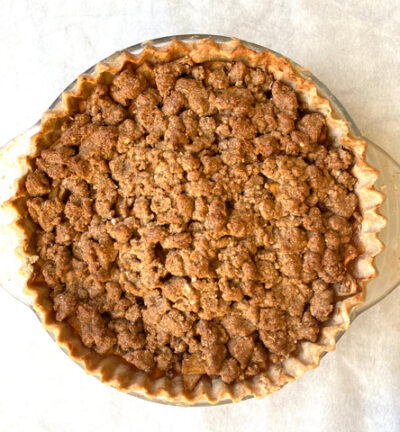
Making pies was a rite of passage in our family so this recipe was a must and developed from a recipe used for generations in our home. Born from a labor of love back in 2015, when it hit the blog, it has made holiday pies a reality for so many since then. Since then, we've recreated so many favorite family pie recipes as well as tweaking fan favorites each year around the holidays. In 2020, it even became available in a bagged mix from Legit Bread Company, what a thrill!
The recipe easily doubles and can be made days in advance or even frozen. *See details below.
Ingredients
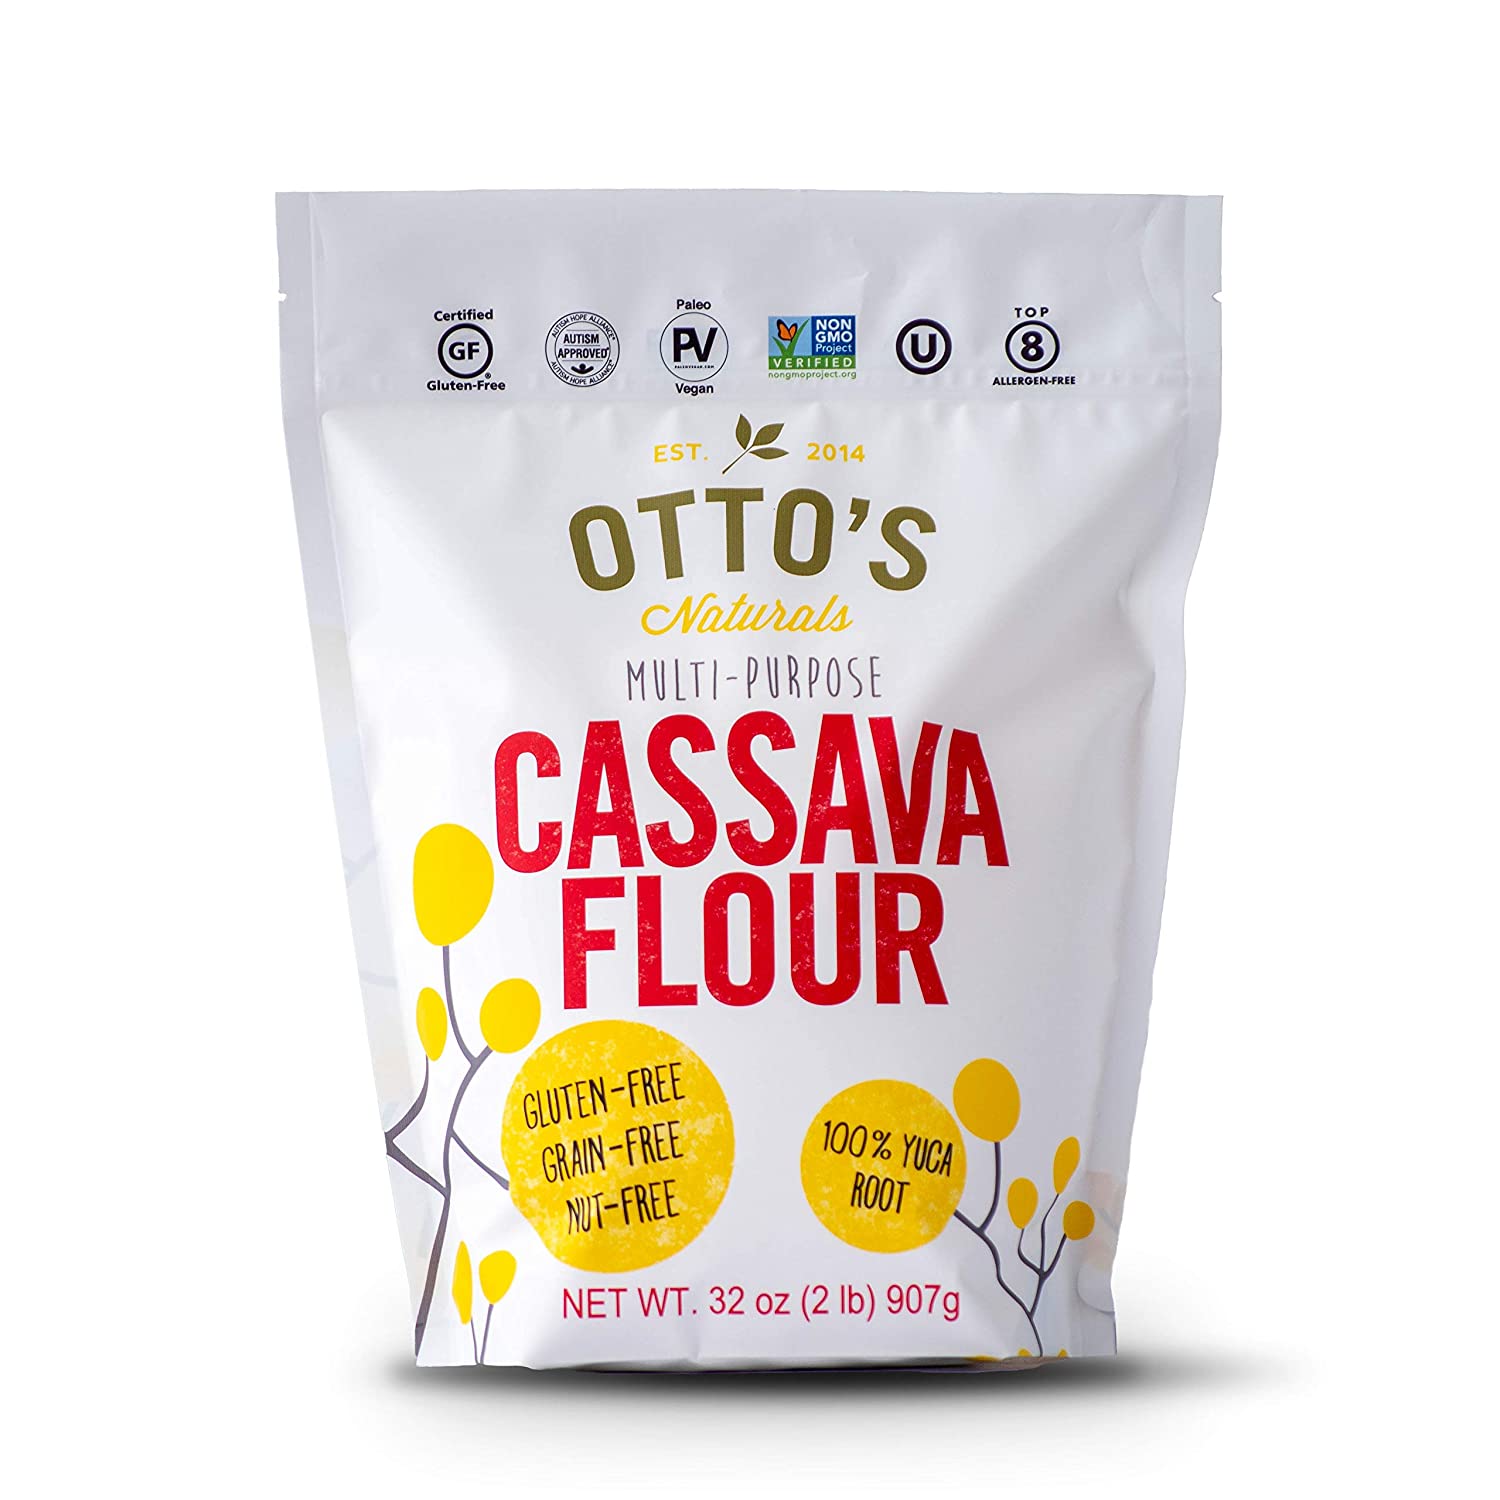
- .75 cup.75 cup.75 cup Cassava Flour, ¾ – 1 cup can be used

- 2 Tbsp2 Tbsp2 Tbsp Arrowroot Flour

- .25 tsp.25 tsp.25 tsp Sea Salt

- .5 cup.5 cup.5 cup Organic [*Spectrum Brand, sustainably sourced] Palm Oil Shortening

- 1 whole1 whole1 whole Egg, room temperature, whisked
- .25 cup.25 cup.25 cup Water, room temperature
- 1 whole1 whole1 whole Egg, large, for egg wash (optional)
Process
Note, these instructions are written assuming the standard serving size, since you have modified the number of servings, these steps may need to be modified for best results
- For a cooked crust like lemon meringue or fresh fruit, preheat oven to 400° and for filled crust, refer to recipe being used.
- Mix together, ¾ cup of the cassava flour, arrowroot, cinnamon (if using) & salt.
- Drop shortening (or fat of choice) into a bowl. Use a pastry blender to cut fat into dry ingredients until incorporated and resembles coarse crumbs.
- Pour whisked egg into flour mixture and work together with a wooden spoon until it again resembles a coarse kind of crumb mixture. Or if you need to, use your fingertips, sometimes this is just easier.
- Add water to the mix and work it into the crumb mixture, adding more cassava flour 1 tablespoon at a time. You should be able to touch it and not have dough stick to your fingers, so you can form it into a ball.
- Lay down one sheet of parchment paper and dust with a bit of cassava flour. Place your dough ball in the center and flatten slightly into a disc and dust with more flour. Place a second sheet of parchment on top and slowly begin to roll out the dough into a large circle.
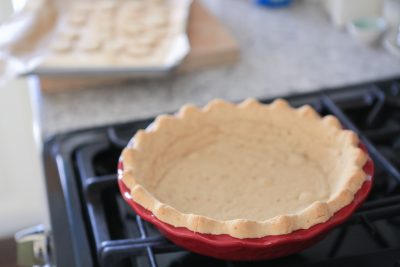
- For COOKED/BAKED CRUST: Roll out thin, you’ll want a quick bake on it, so try to get it to around ¼” – pull back top sheet of parchment and dust with more flour if needed and continue to roll. Once it’s the size you need for your pie tin, remove top sheet and place pie plate upside down on top. Carefully turn over and flip the crust on top of the pie plate, don’t worry if it tears a bit, this dough is very forgiving! Remove the parchment paper and press any tears together and finish the crust edge however you’d like. Using the tines of a fork, poke holes on the bottom and around the sides of the crust to allow for steam to release during baking. I like to sprinkle mine with a bit of cinnamon and coconut sugar, but this is optional. Place in oven and bake for 10 minutes, remove from oven and brush the egg wash around the edge of the crust. This will give it a nice brown finish, but is also optional. Bake for another 10-12 minutes or until brown. Using pie weights as needed to insure your crust bottom stays flat.
- For FILLED CRUST: Roll out to just over ¼” or so – pull back top sheet of parchment and dust with more arrowroot or cassava flour if needed and continue to roll. Once it’s the size you need for your pie tin, remove top sheet and place pie plate upside down on top. Carefully turn over and flip the crust on top of the pie plate, don’t worry if it tears a bit, this dough is very forgiving! Remove the parchment paper and press any tears together and finish the crust edge however you’d like. Follow recipe directions for baking. After about 45 minutes, you may need to cover the edge of the pie crust to keep it from browning too much.
Notes
*TO FREEZE: once dough is mixed up, flatten ball out slightly ,then wrap in plastic wrap and place in the freezer. When ready to use, remove from the freezer and allow it to come to room temperature before rolling out. You can also freeze a raw crust before or after par baking. Once you have dough in pie tin/plate, and have the edge finished as desired, you can slide it into a 2 gallon zipper bag, then place in the freezer. Remove from freezer and allow it to come to room temperature then proceed as directed in recipe you're making.
Add a Note
My Notes:
Never Miss a Bite
Get recipes delivered to your inbox every week






Leave a Reply
You must be logged in to post a comment.