Gluten-free Sandwich Bread
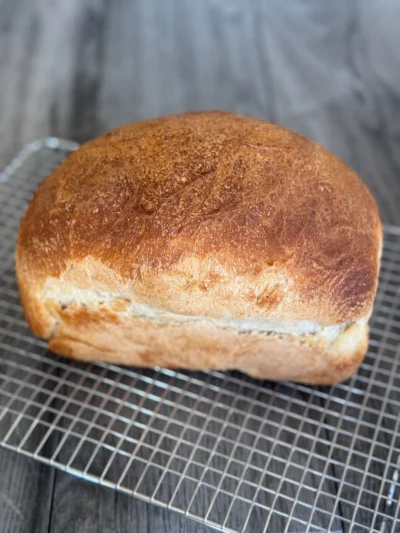
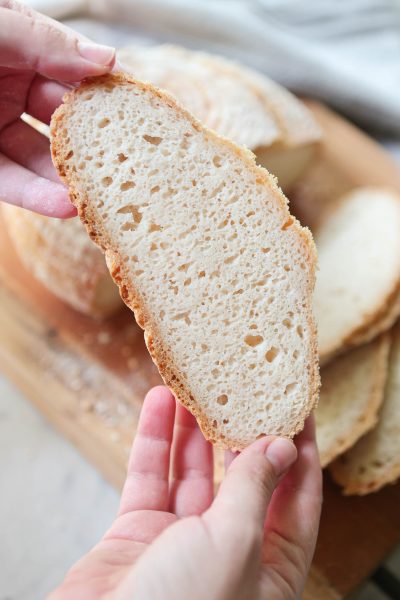
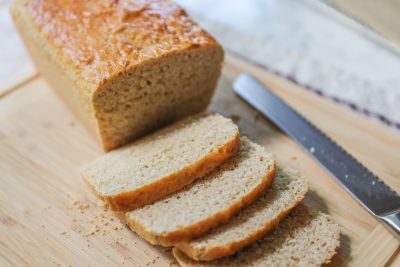
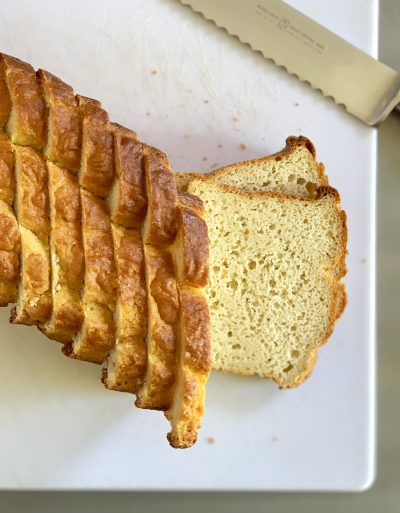
When you try this homemade sandwich bread, you will never buy store bought bread again! It is the most delicious, soft and light sandwich bread. You can serve it up as a sandwich fresh from the oven, or freeze slices for when you are craving some toast. You wont believe this bread is gluten-free!
Ingredients
- 275 grams275 grams275 grams Water, Warm water heated to 110F (1.25 cups)
- 1 Tbsp1 Tbsp1 Tbsp Granulated White Sugar

- 1 Tbsp1 Tbsp1 Tbsp Active Dry Yeast
- 1 tsp1 tsp1 tsp Psyllium Husk, Ground
- 360 grams360 grams360 grams Gluten-Free All-Purpose Flour - Primal Palate, 3 cups, spooned and leveled

- 22 grams22 grams22 grams Milk Powder, Non-Fat
- 1 Tbsp1 Tbsp1 Tbsp Granulated White Sugar

- 1 tsp1 tsp1 tsp Himalayan Pink Salt

- 1 tsp1 tsp1 tsp Baking Powder

- 222 Eggs, at room temperature
- 1 Tbsp1 Tbsp1 Tbsp Apple Cider Vinegar
- 1/4 cup1/4 cup1/4 cup Butter, Unsalted, melted and slightly cooled

Buy Ingredients on the FoodSocial Market
Shop over 3500 products from unique and independent, creator-curated brandsProcess
Note, these instructions are written assuming the standard serving size, since you have modified the number of servings, these steps may need to be modified for best results
- Warm your water, and pour into a liquid measuring cup. Whisk in the cane sugar and the yeast, and allow to proof for 5 minutes.
- . In the bowl of your stand mixer, combine the flour, dry milk powder, granulated sugar, salt, and baking powder. Using the beater attachment, beat the dry mixture on medium speed to combine.
- In a small prep bowl, whisk together the eggs and apple cider vinegar, and add to the dry mixture, being sure to scrape every last bit from the bown into the stand mixer.
- Pour in the melted butter, again scraping every last bit into the stand mixer. Beat the liquid ingredients into the dry until you have a crumbly dough. Scrape down the bowl.
- Whisk in the psyllium husk powder to your yeast mixture to dissolve, and pour the yeast mixture into the bowl of your stand mixer. Beat the dough on medium speed for 2 minutes, then scrape down the bowl really well.
- Beat the dough for another 5 minutes on medium-high speed until the dough is completely smooth, and fluffy looking. Scrape down the sides of the bowl, cover and allow to rise at room temperature for one hour.
- This dough is too sticky to “punch down”, so to de-gas the dough, all you need to do is gently stir the dough with a spatula until the dough looks smooth again.
- Lightly grease a standard loaf pan with oil or butter, and pour the dough into the loaf pan, smoothing the top with your spatula. I like to give my dough a slight dome shape in the center for that traditional bread look.
- Cover the loaf pan with a sheet of plastic wrap that you grease lightly, and allow it to rise again just while your oven is preheating. It only needs about 10-20 minutes depending on how warm your kitchen is.
- Preheat your oven to 375 degrees F. Once your dough has visibly puffed up after 10-20 minutes, remove the plastic wrap, and place it in the oven to bake for 45 minutes.
- Once 45 minutes has passed, take the temperature of the loaf. It will be finished when it reads 200-205 internally.
- Once the loaf has finished baking, allow it to cool for 30 minutes in the loaf pan, then turn it out onto a wire rack to cool completely before slicing.
- I like to keep my bread in a ziplock bag at room temperature for 2 days, and any remaining bread that is left, I slice and freeze for toasted bread.
Add a Note
My Notes:
About This Recipe
Show nutritional information
Baked Goods Coconut Free Gluten Free Nut Free Pescetarian Shellfish Free Sugar Alcohol Free| This is our estimate based on online research. | |
| Calories: | 111 |
| Fat: | 4 g |
| Carbohydrates: | 15 g |
| Protein: | 2 g |
| Cholesterol: | 10 g |
| Sodium: | 154 mg |
| Fiber: | 0 g |
| Sugars: | 2 g |
| Sugar Alcohol: | 0 g |
| Calculated per serving. | |











Leave a Reply
You must be logged in to post a comment.