Gluten Free Copycat Crunch Bars
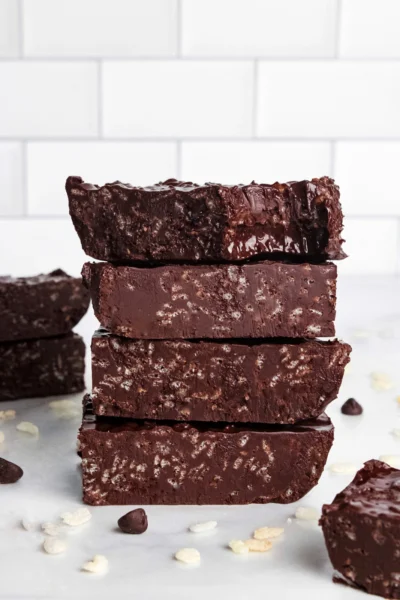
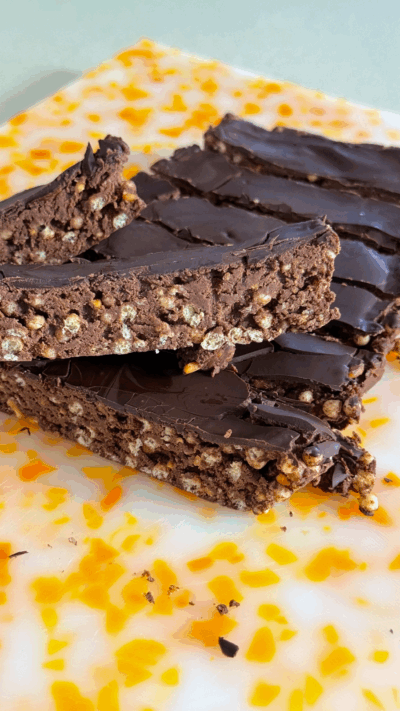
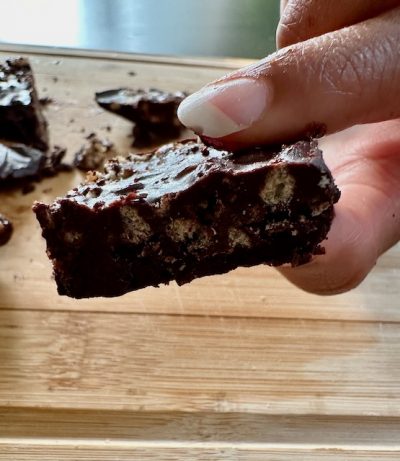
Got a craving for those classic Nestle Crunch bars but want to make them yourself? This is a super easy DIY version for you! With just two main ingredients (plus a pinch of salt, but who's counting?!), these copycat crunch bars are so simple to whip up. They're simple, fun, and you're going to love them. To make this recipe gluten free, just use gluten free crispy rice cereal and gluten free chocolate. Regular Rice Krispies have gluten (there is malt in the ingredient list!) making them unsafe for those who need to avoid gluten, so be sure to check all the labels for a safe option if needed.
Ingredients
- 1 cup1 cup1 cup Milk Chocolate, can sub dark

- 1 cup1 cup1 cup Brown Rice Crisps, gluten free option like Nature's Path
- 1 pinch1 pinch1 pinch Salt

Buy Ingredients on the FoodSocial Market
Shop over 3500 products from unique and independent, creator-curated brandsProcess
Note, these instructions are written assuming the standard serving size, since you have modified the number of servings, these steps may need to be modified for best results
- Start by melting 1 cup of chocolate. You can do this in a microwave or by using a double boiler. The key is to get it all smooth and shiny.
- Once your chocolate is fully melted, gently fold in 1 cup of crispy rice cereal. Make sure they're fully mixed together.
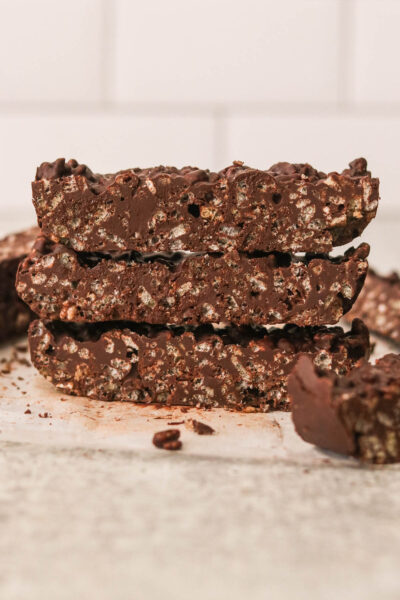
- Take a loaf pan and line it with parchment paper. Spread that chocolate-cereal mix evenly inside the pan. Want it thinner and less chunky? Spread it out on a parchment-lined baking sheet as thin as you like (thinner is a more classic replica of the original but it's fun both ways!).
- For that extra little something, sprinkle a pinch of salt on top.
- Time to chill out – pop the pan in the freezer for about 20 minutes or until the chocolate hardens completely.
- When you pull it out, let it sit for about 10 minutes. This way, it'll be easier to work with.
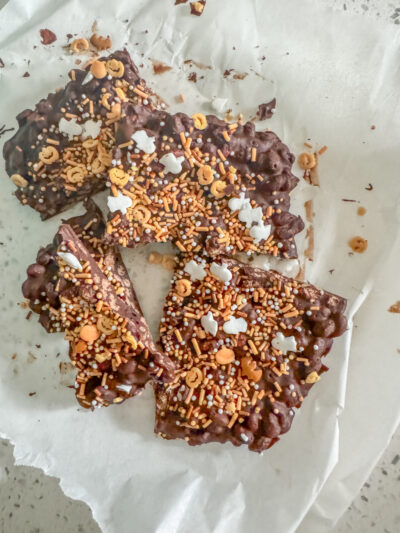
- Once it's out of the freezer for about 10 minutes, remove it from the pan and transfer it to a cutting board. Take a knife and gently (carefully!) rock it back and forth to break that chocolate bar into chunks.
Notes
If you prefer something less sweet, swap the milk chocolate for dark chocolate. Want it thinner and less chunky? Spread it out on a parchment-lined baking sheet as thin as you like otherwise it will be thicker in the loaf pan. A thinner spread is more reminiscent of the original candy bar but I honestly prefer it on the thicker side. IMHO, there's no wrong way to make it! These bars keep well in the freezer for a few days, so you can make a batch and have them ready to go whenever you want a sweet treat!
Add a Note
My Notes:
About This Recipe
Show nutritional information
Candies Coconut Free Desserts Egg Free FODMAP Free Gluten Free Nightshade Free Nut Free Pescetarian Shellfish Free Sugar Alcohol Free Vegetarian| This is our estimate based on online research. | |
| Calories: | 59 |
| Fat: | 2 g |
| Carbohydrates: | 10 g |
| Protein: | 2 g |
| Cholesterol: | 5 g |
| Sodium: | 125 mg |
| Fiber: | 0 g |
| Sugars: | 4 g |
| Sugar Alcohol: | 0 g |
| Calculated per serving. | |












Leave a Reply
You must be logged in to post a comment.