

Homemade Gluten-free Chipwiches with No-Churn Ice Cream

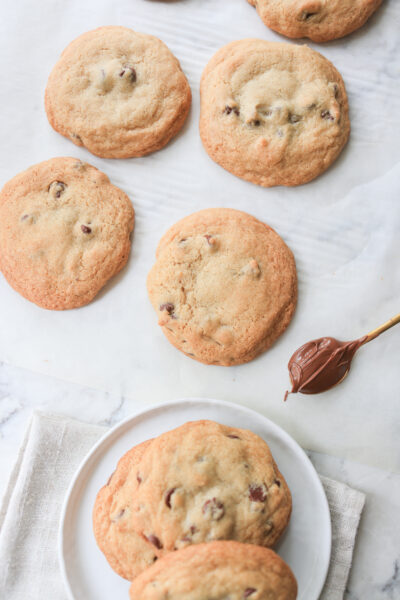
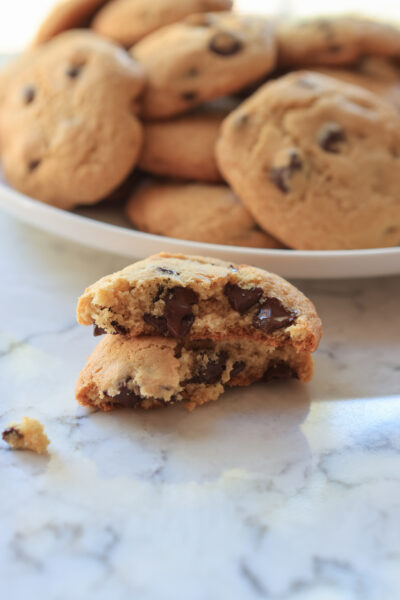
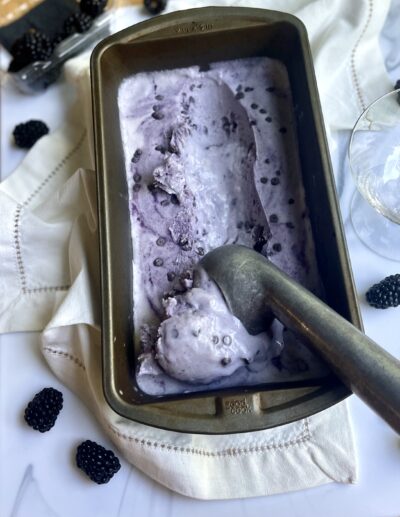
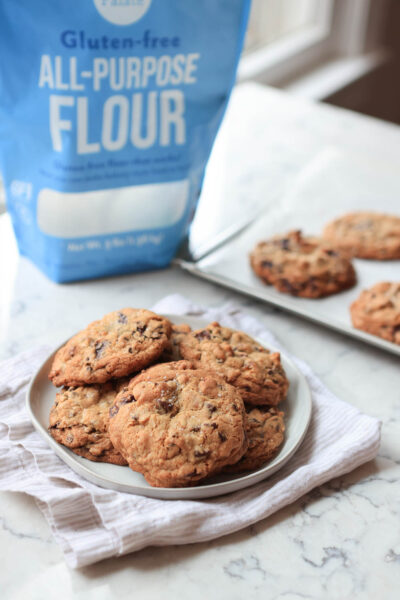
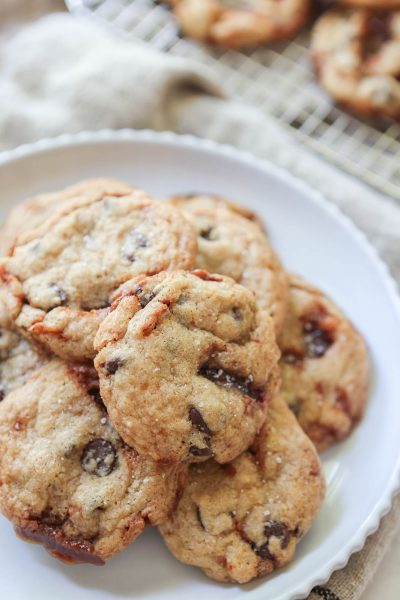
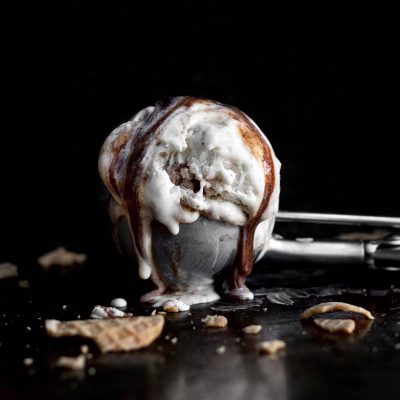
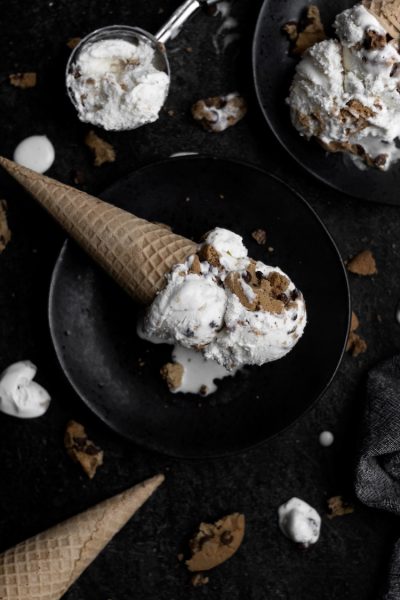
This classic summer treat is so easy to make at home, you may never buy it from the store again. This no-churn ice cream comes together in under 15 minutes, and when paired with my Gluten-Free Chocolate Chip Cookies made with our Gluten-Free All-Purpose Flour, it becomes something truly special. All the nostalgic flavor and texture of a Chipwich you love, without gluten!
PREP TIME
8 hours
COOK TIME
12 minutes to 14 minutes
INGREDIENTS
17
Serves: 10


Ingredients
No-Churn Vanilla Ice Cream
- 2 cups2 cups2 cups Heavy Whipping Cream
- 14 oz14 oz14 oz Sweetened Condensed Milk, Eagle Brand
- 1 tsp1 tsp1 tsp Vanilla Bean Paste

- 1 tsp1 tsp1 tsp Pure Vanilla Extract
Gluten-Free Chocolate Chip Cookies
- 210 grams210 grams210 grams Gluten-Free All-Purpose Flour - Primal Palate, 1 3/4 cup spoon filled and leveled
- 1/2 tsp1/2 tsp1/2 tsp Baking Soda
- 1/2 tsp1/2 tsp1/2 tsp Himalayan Pink Salt - Primal Palate
- 113 grams113 grams113 grams Butter, Unsalted, 1/2 cup or one stick, softened to room temperature
- 6 Tbsp6 Tbsp6 Tbsp Granulated White Sugar
- 73 grams73 grams73 grams Light Brown Sugar, 1/3 cup, packed
- 1 whole1 whole1 whole Egg, 1 large egg at room temp
- 1 tsp1 tsp1 tsp Pure Vanilla Extract
- 1 cup1 cup1 cup Semi-Sweet Chocolate Chips, I used half standard size, and half mini
Chocolate chips for the outside of the sandwiches
- 1 cup1 cup1 cup Mini Chocolate Chips, Semi-Sweet, for the outside of the sandwhiches
Buy Ingredients on the FoodSocial Market
Shop over 3500 products from unique and independent, creator-curated brandsProcess
Note, these instructions are written assuming the standard serving size, since you have modified the number of servings, these steps may need to be modified for best results
- To make the no churn ice cream, you will want to make sure the bowl of your stand mixer is cold.
- Pour in the 2 cups of heavy whipping cream, along with the vanilla bean paste, and vanilla extract. I like adding in the vanilla paste for the specs of vanilla, but you can just use 2 teaspoons of vanilla extract if desired.
- Using the whisk attachment, whip the cream until stiff peaks form.
- Pour in the can of sweetened condensed milk, and gently fold in the condensed milk until it is evenly incorporated.
- Pour the ice cream into a freezer safe container, and freeze for approximately 8 hours, or overnight.
- To make the chocolate chip cookies, preheat your oven to bake at 375 F. Line two baking sheets with parchment paper.
- In a medium size mixing bowl, whisk together the flour, baking soda, and salt.
- In a large mixing bowl, cream the butter with the white and brown sugar.
- Add in the vanilla and the egg, and blend to incorporate with the butter and sugar.
- Pour in the dry mix, and blend again until you have a smooth batter.
- Stir in the chocolate chips.
- Using a cookie scoop, scoop the cookie dough onto your baking sheets, spacing them 2 inches apart as they will spread.
- Bake the cookies for 12-14 minutes, until golden.
- Allow the cookies to fully cool. I recommend refrigerating them so they are cold to make the chipwiches.
- To make the chipwiches, you will need a shallow bowl of mini chocolate chips, a cookie sheet lined with parchment paper, and an ice cream scoop.
- Start by laying the bottom cookie layer out on your parchment lined cookie sheet, bottom side up.
- Place one scoop of ice cream on each cookie, and then gently press a cookie on top of the scoop of ice cream to make your sandwich, so that the ice cream fills out the surface of the cookie.
- At this point you will want to place the cookie sandwiches back in the freezer because the ice cream will start melting.
- Once the ice cream is frozen again, you can roll the outside in the chocolate chips for the classic "Chipwich" look, but this is optional!
- Make sure you are working with cold ice cream sandwiches, and press the cookie sandwich into the shallow bowl of chocolate chips to coat the sides.
- You can layer the sandwiches in a freezer safe container lined with wax paper, and keep them in the freezer to enjoy when you'd like a treat!
Add a Note
My Notes:
About This Recipe
Show nutritional information
Coconut Free Gluten Free Nut Free Pescetarian Shellfish Free Sugar Alcohol Free Vegetarian| This is our estimate based on online research. | |
| Calories: | 632 |
| Fat: | 47 g |
| Carbohydrates: | 78 g |
| Protein: | 15 g |
| Cholesterol: | 100 g |
| Sodium: | 226 mg |
| Fiber: | 3 g |
| Sugars: | 36 g |
| Sugar Alcohol: | 0 g |
| Calculated per serving. | |










Leave a Reply
You must be logged in to post a comment.