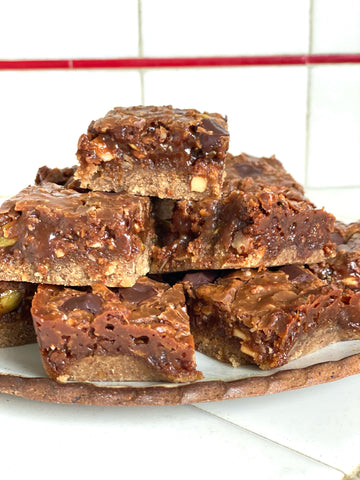
Chewy Gooey Paleo Brownies (Gluten-Free, Grain-Free)
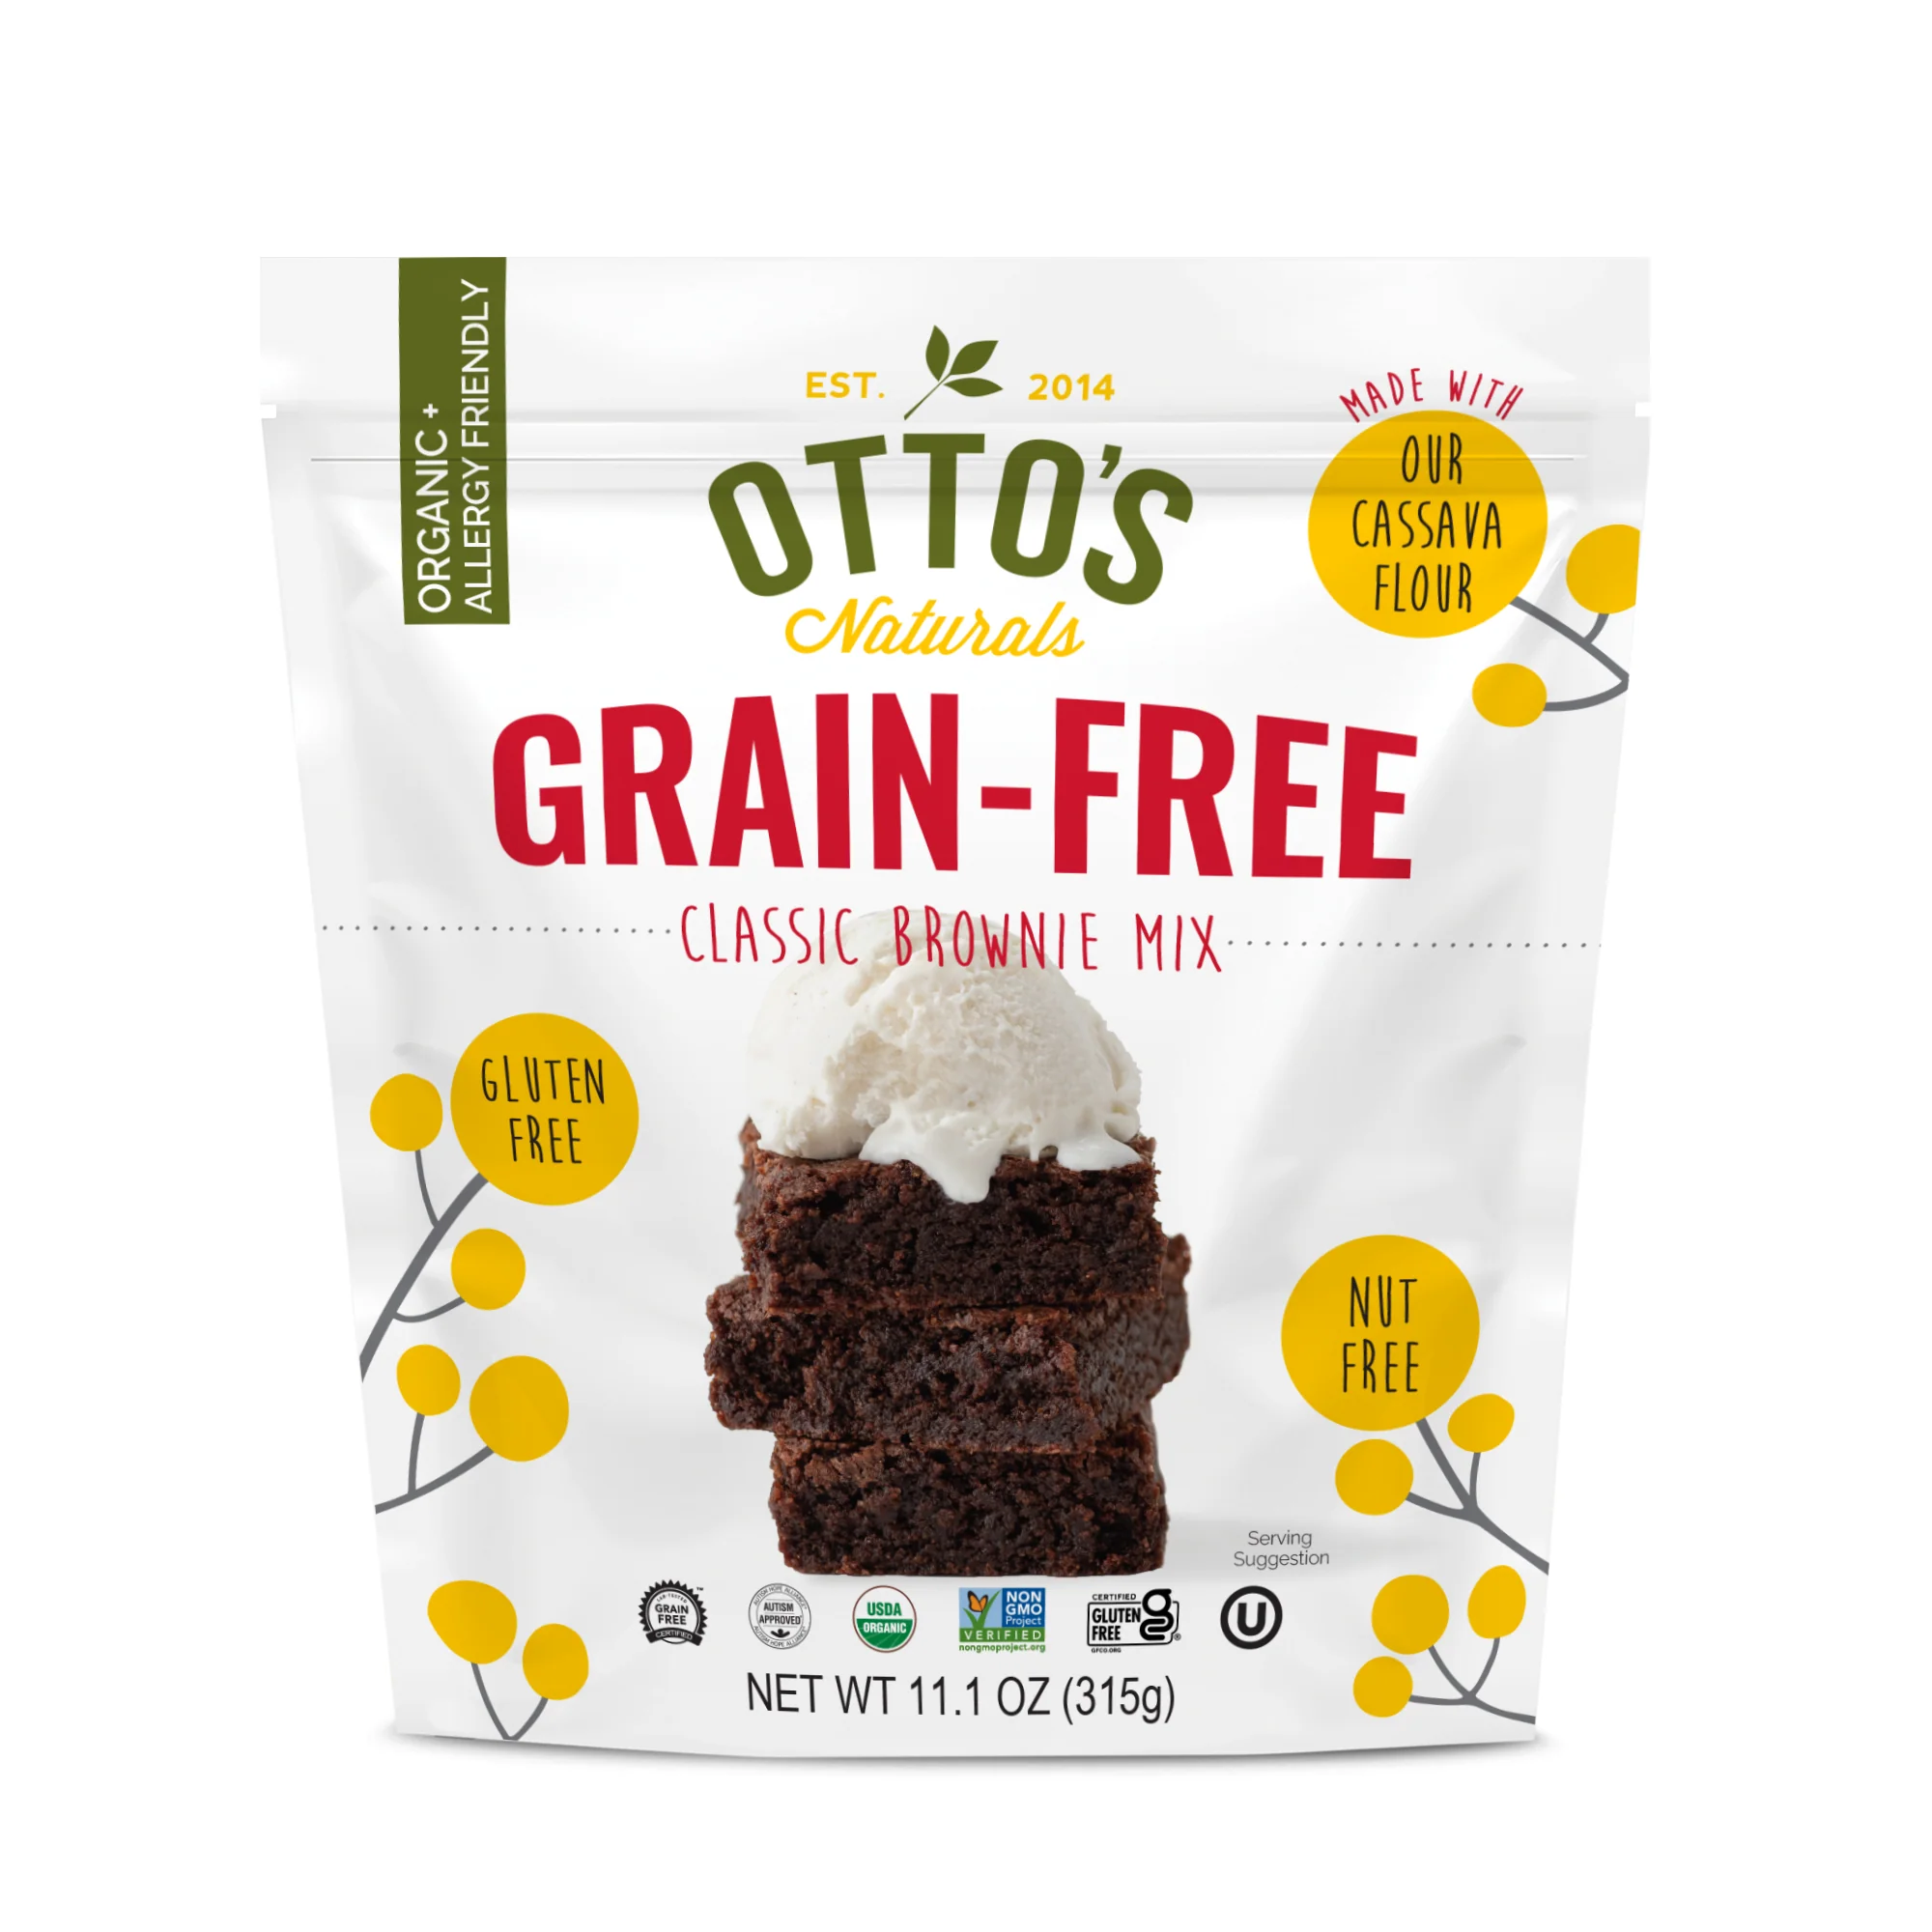
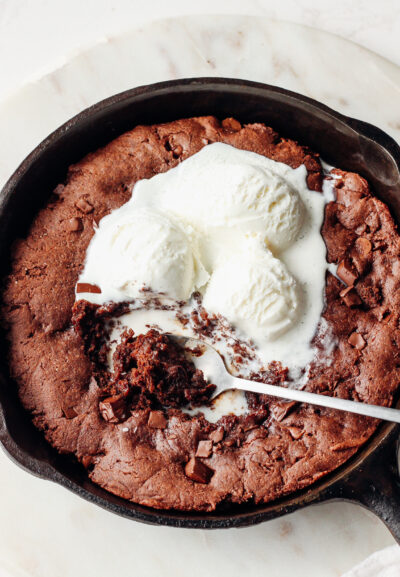
Whether you play for Team Crunchy Edges or go straight for the dense, fudgy middles, all brownie lovers will unite over a pan of this chocolate goodness. Our Chewy Gooey Paleo Brownies are a best-loved recipe in the Otto’s Naturals office, where they rarely last past lunch (or, ahem, become lunch). With a moreish, uniquely satisfying bite from our fine-grained, super premium Cassava Flour, these brownies also feature a double dose of complex chocolate flavor by combining melted chocolate chips and pure, dark cocoa powder. Allow the brownies to cool completely before cutting to achieve the best texture and neatest squares…although we wouldn’t blame you for crowning a warm, gooey chunk of brownie with a scoop of creamy vanilla bean ice cream. Actually, we highly recommend you try this. Double batch, anyone? (Recipe by Planks, Love & Guacamole)
Ingredients
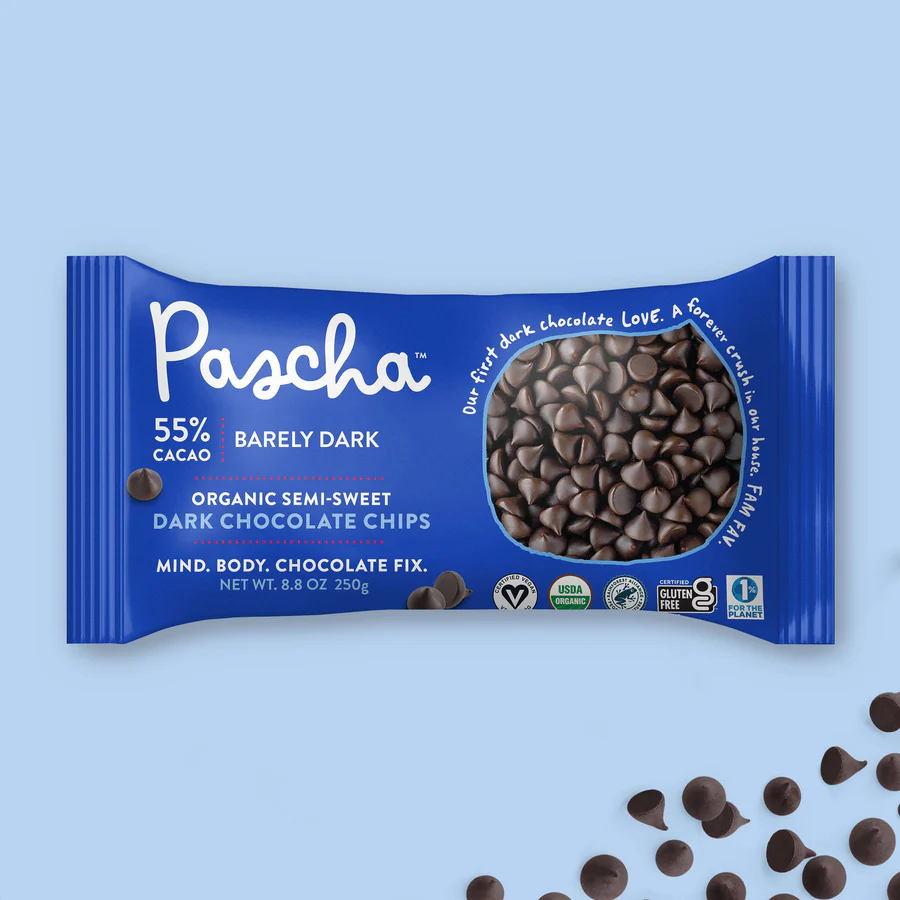
- 1 cup1 cup1 cup Semi-Sweet Chocolate Chips

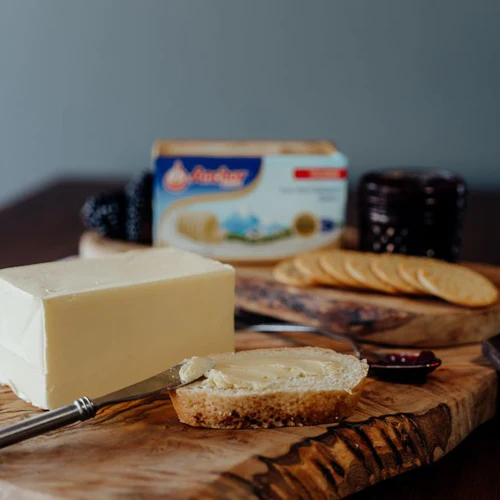
- 5 Tbsp5 Tbsp5 Tbsp Unsalted Butter, Ghee, or Coconut Oil

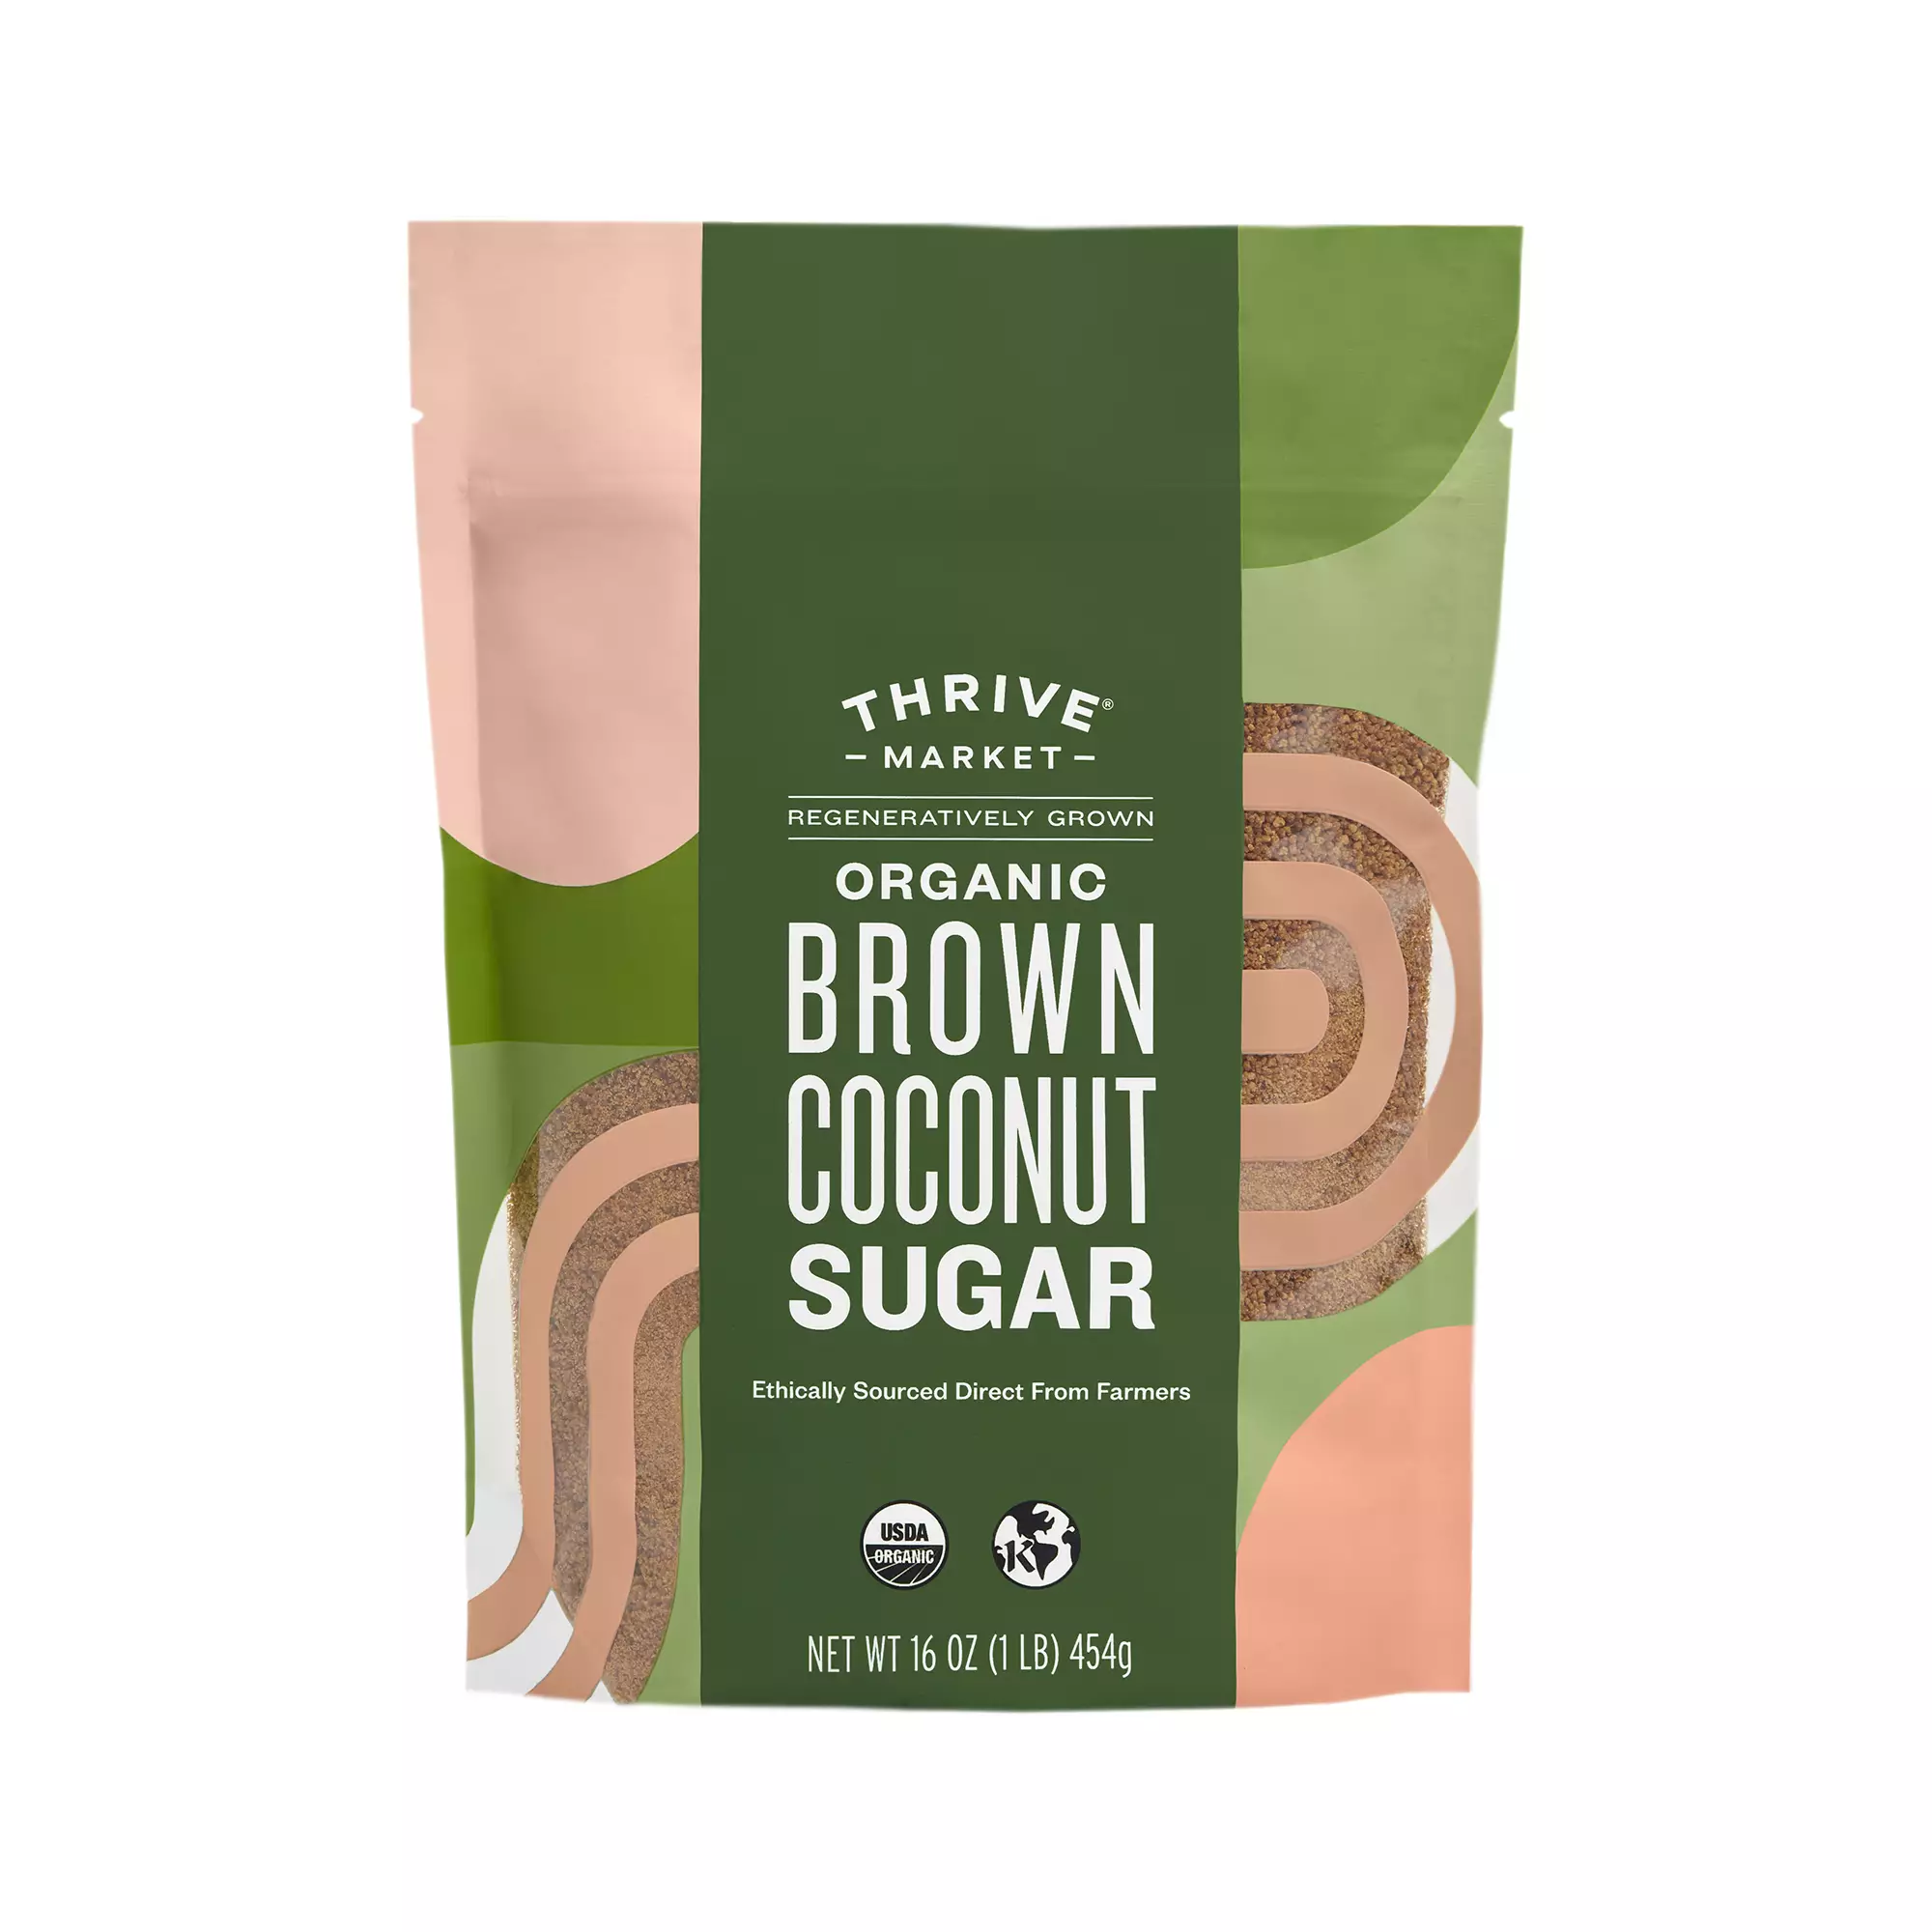
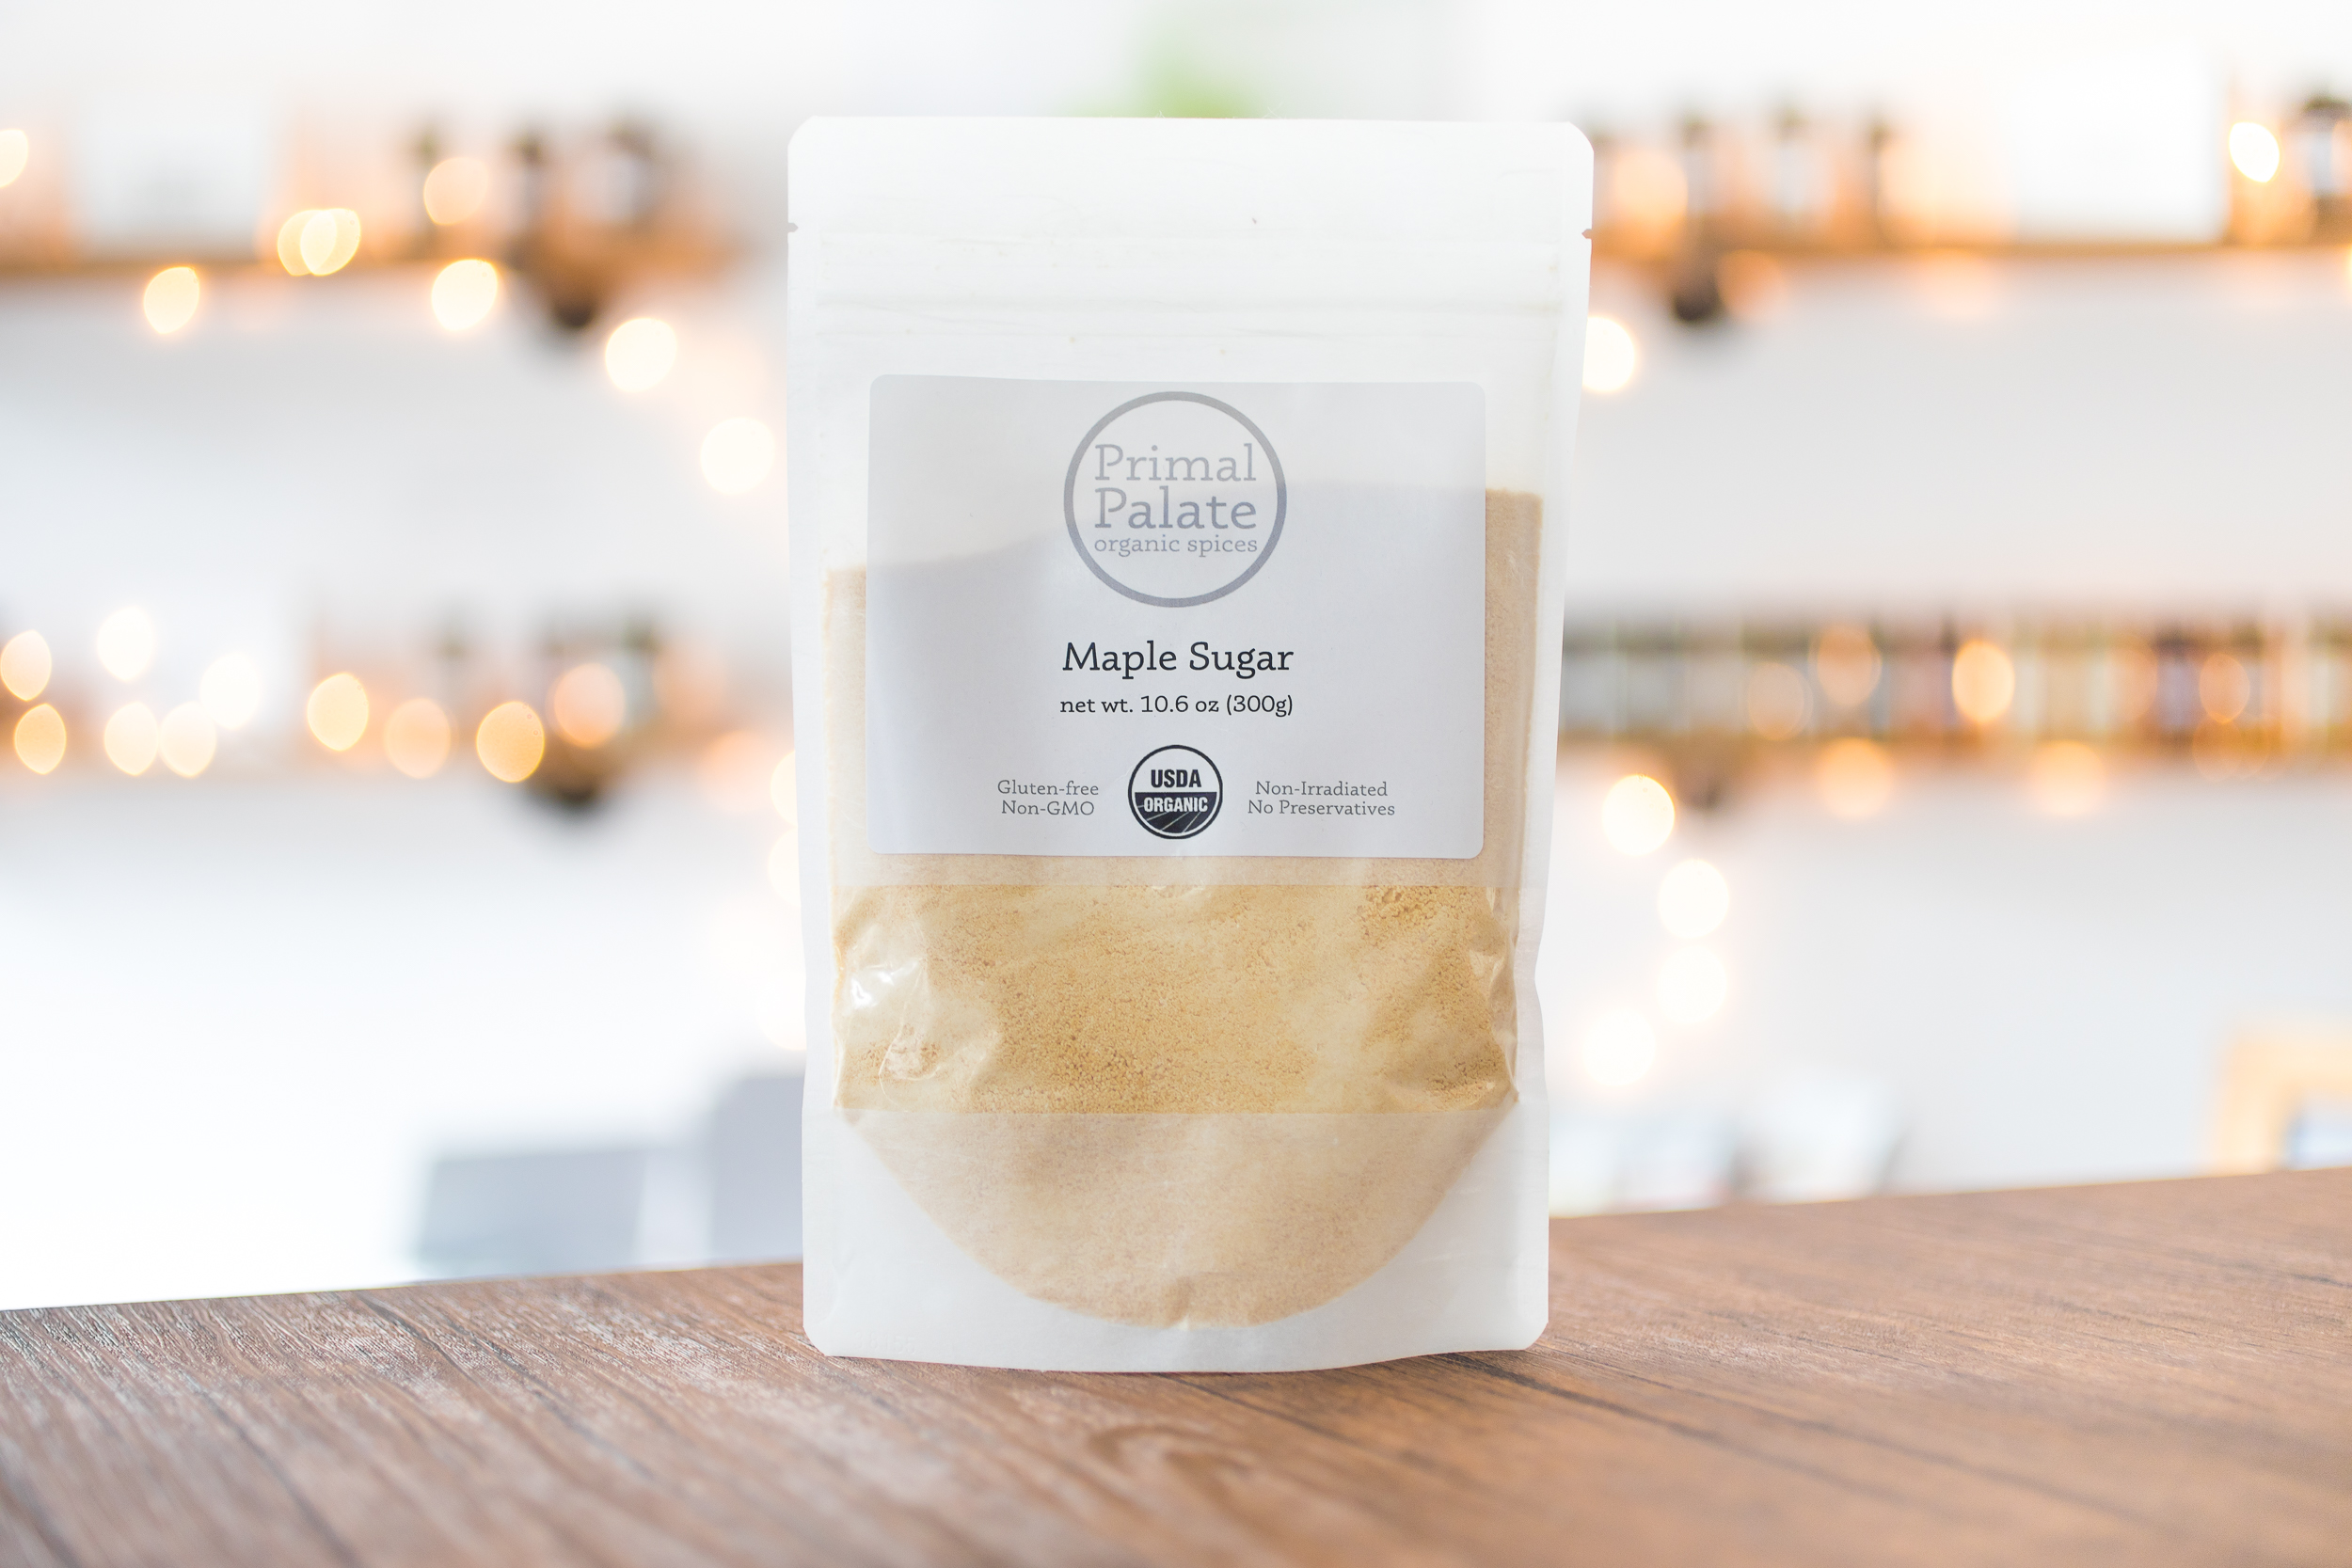
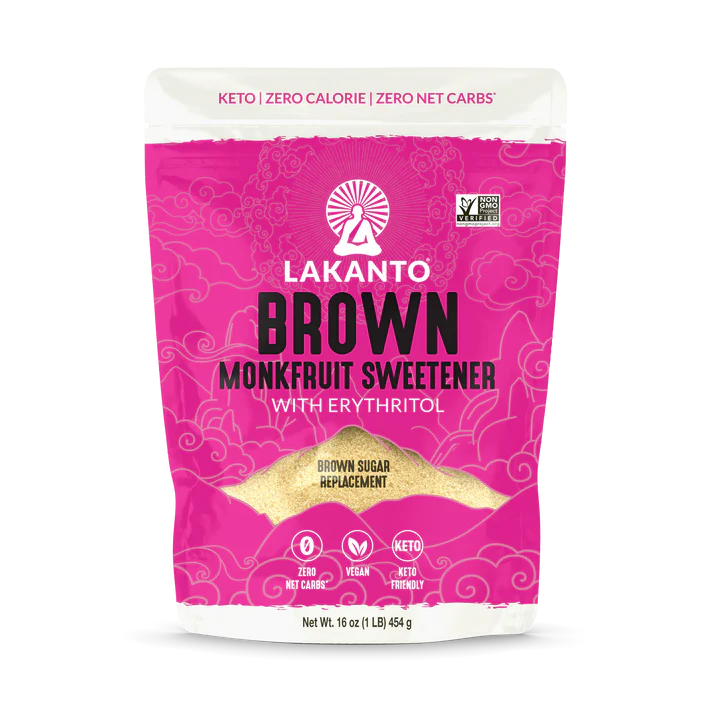
- 1 cup1 cup1 cup Coconut Sugar

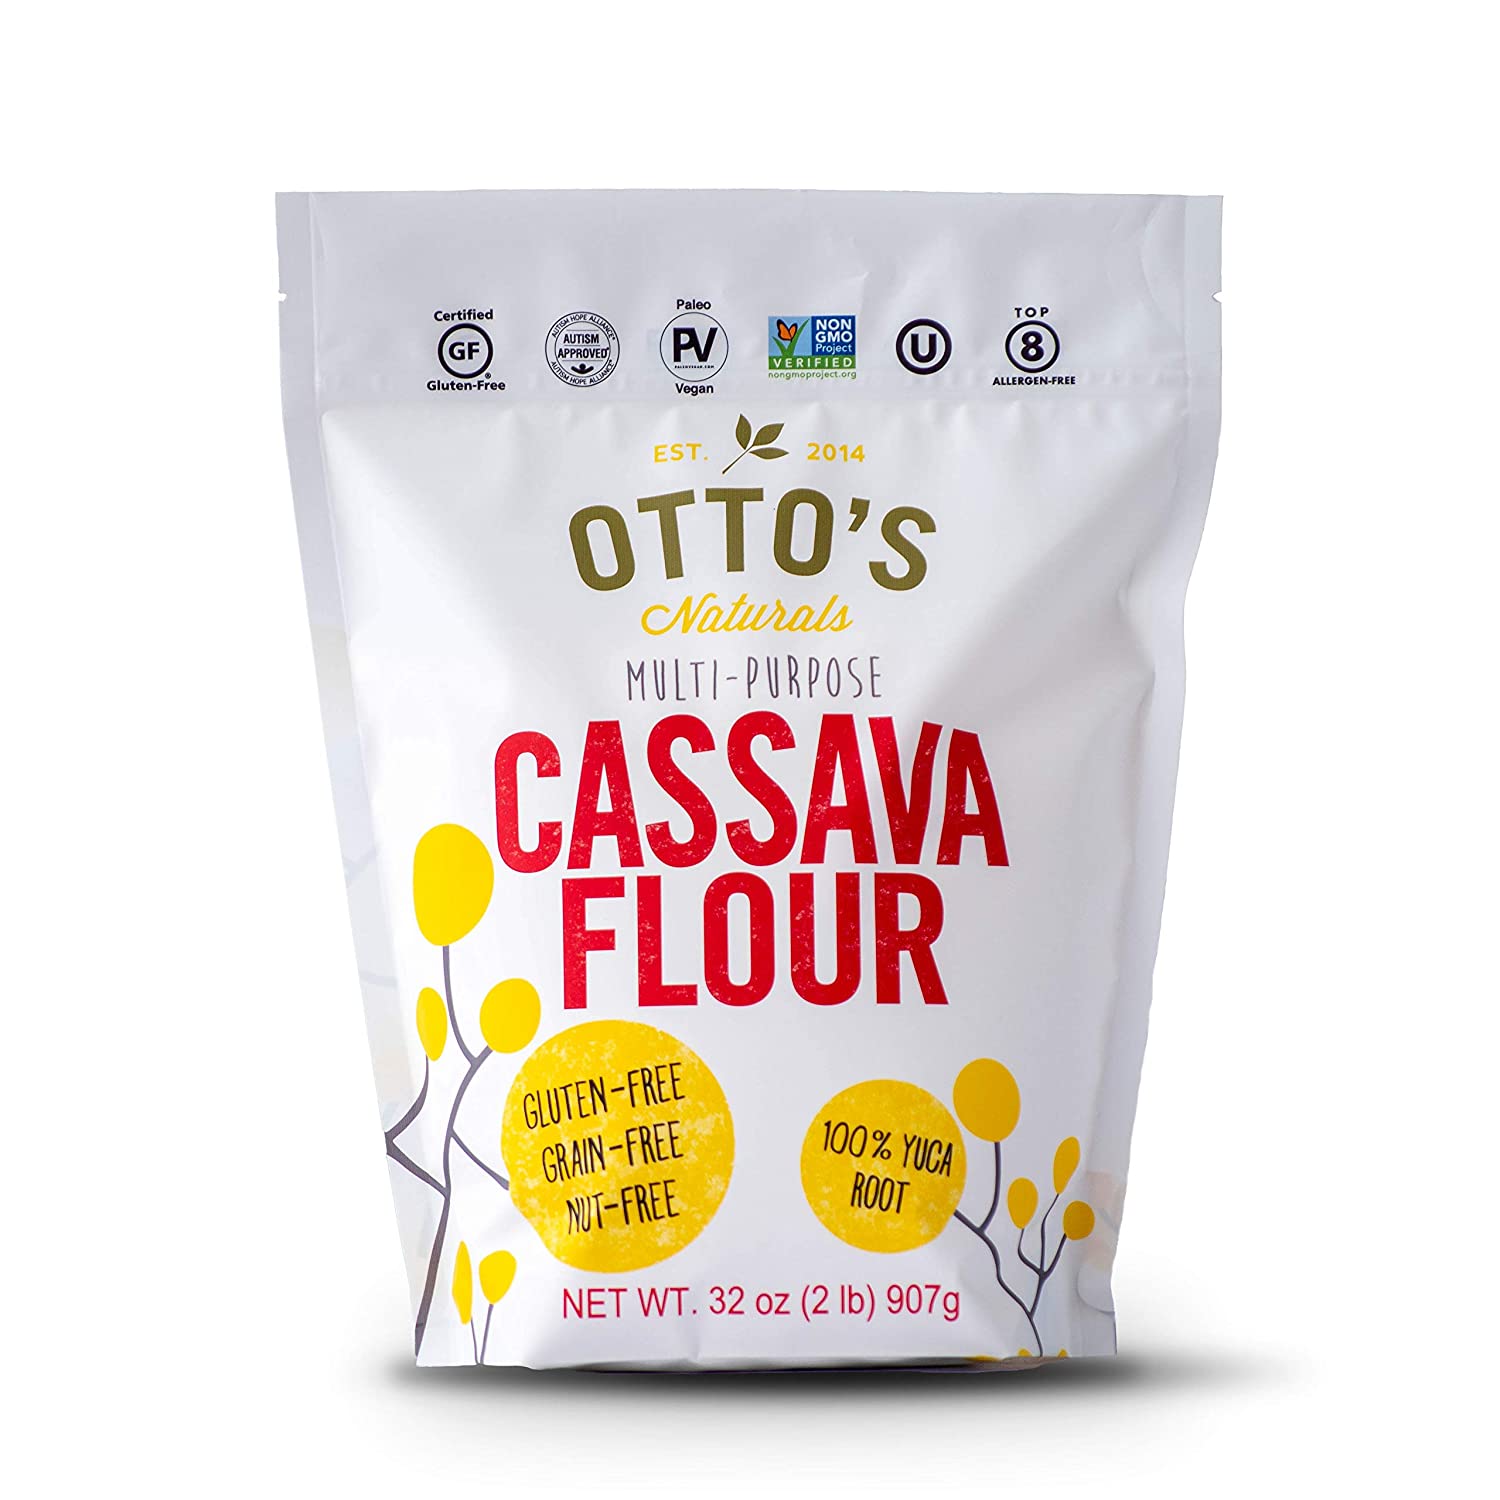
- 1/4 cup1/4 cup1/4 cup Cassava Flour, (Otto's Naturals - Cassava flour)

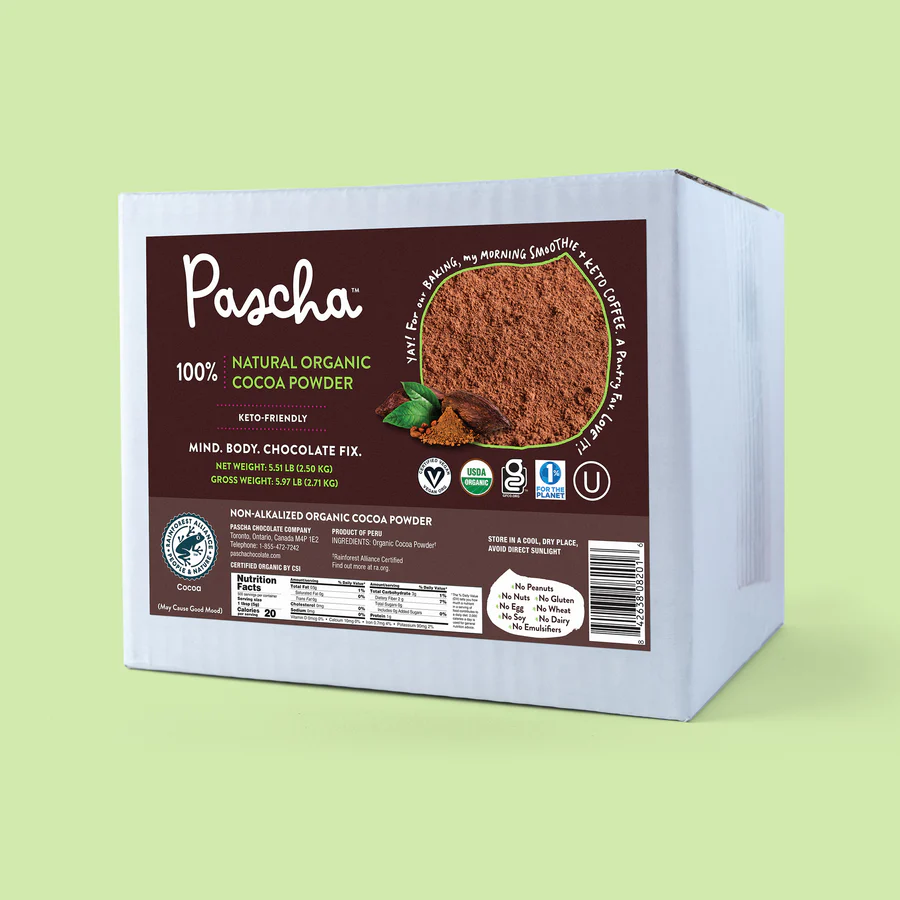
- 2 Tbsp2 Tbsp2 Tbsp Cocoa Powder, unsweetened

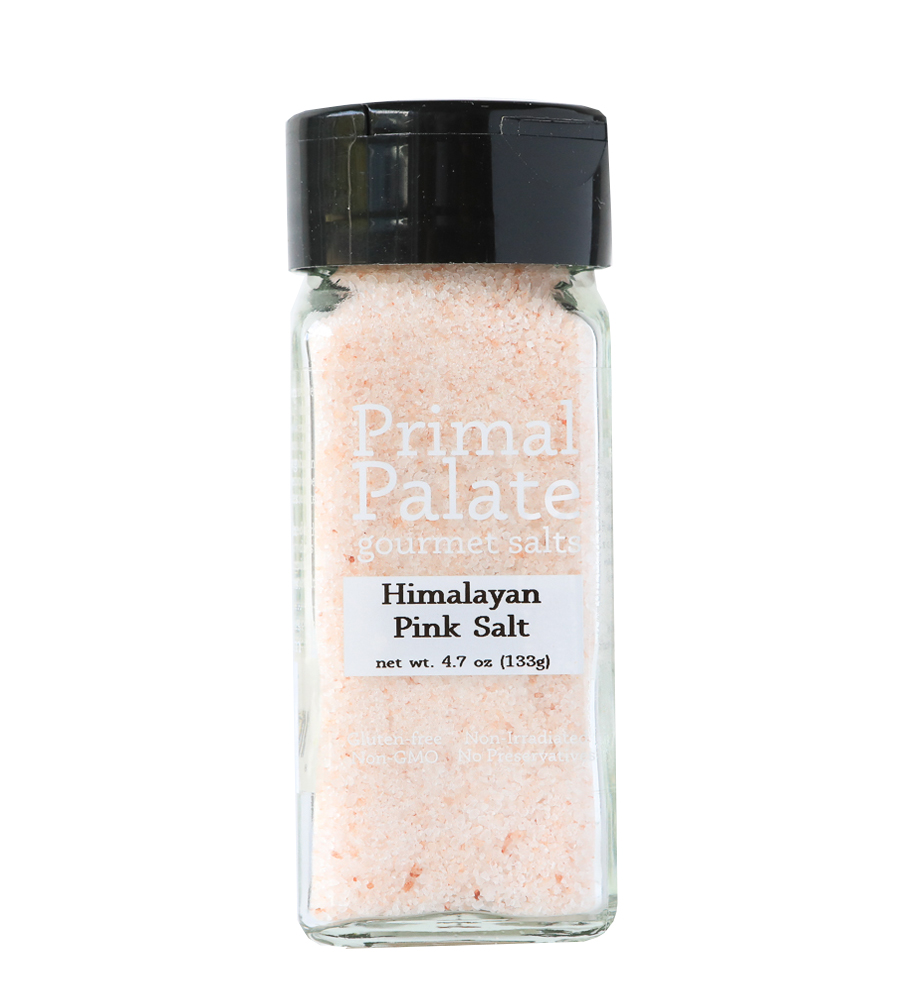
- 1/4 tsp1/4 tsp1/4 tsp Salt

- 222 Eggs
- 1 Tbsp1 Tbsp1 Tbsp Vanilla Extract


Process
Note, these instructions are written assuming the standard serving size, since you have modified the number of servings, these steps may need to be modified for best results
- Preheat oven to 350 degrees Fahrenheit and line an 8”x 8” baking dish with parchment paper.
- Melt chocolate chips and butter in saucepan on low just until melted.
- Combine dry ingredients (coconut sugar, Otto's Naturals - Cassava flour, unsweetened cocoa and salt) in a large mixing bowl.
- Whisk egg and vanilla in a small bowl.
- Add melted chocolate and eggs to large mixing bowl with dry ingredients. Mix to form smooth batter.
- Pour batter in parchment lined dish. Bake in preheated oven 30-40 minutes (start checking around 25 minutes since cooking time will vary based on pan and oven used).
- Allow to fully cool before cutting.
Add a Note
My Notes:
Never Miss a Bite
Get recipes delivered to your inbox every week



Leave a Reply
You must be logged in to post a comment.